
So You Made a Sourdough Starter… Now What?

During quarantine, so many more people dove straight into the world of sourdough (me, raising my hand). It is so easy to create a sourdough starter. I mean, it’s two ingredients. If you haven’t made your starter yet, stop right here. Head over to this post on how to make one, then we will see you back here in a week.
The first thing most people want to do with a sourdough starter is make bread. It makes sense. But if your like me and your first loaf turns out pretty “meh” and a tad dense, it can be discouraging. Also, if it catches on fire, that can be even MORE discouraging (Why do I always catch things on fire? Remember the bath bombs?).
I am recommending that all beginner homesteaders start out with something a little easier to gain some sourdough confidence and see that your beautiful, ugly, messy, smelly starter can do SO MUCH MORE than just make bread.

Why Should I Use Sourdough for Things Other Than Bread?
If you made a sourdough starter already, you probably already know the benefits of sourdough, but if not… let’s recap:

Grab your Free Routine
The 15 Minute Homestead Routine (for busy days).
Want a simple morning rhythm that keeps your home running, your garden growing, and your goals on track? Grab my free 15-Minute Morning Routine Worksheets—designed to help you build homestead habits that stick.
- Sourdough has a lot of vitamins and minerals like iron, selenium, and B vitamins that are good for red blood cell production, immune system boosting, and nervous system function.
- Sourdough has more protein than an egg.
- Sourdough keeps your gut healthy with prebiotics. It’s complicated, but basically, you use sourdough instead of store-bought processed yeast (what makes things rise). The sourdough is better at breaking down the flour so your gut has an easier time digesting it. As an added bonus, this extra break down allows your body to get more nutrients from the flour as well.
Let’s Start Small
Sourdough seems like a thing that only “real” homesteaders make. I want to prove that LITERALLY ANYONE can do this. Once you have a starter made, start with am easy recipe to ensure success.

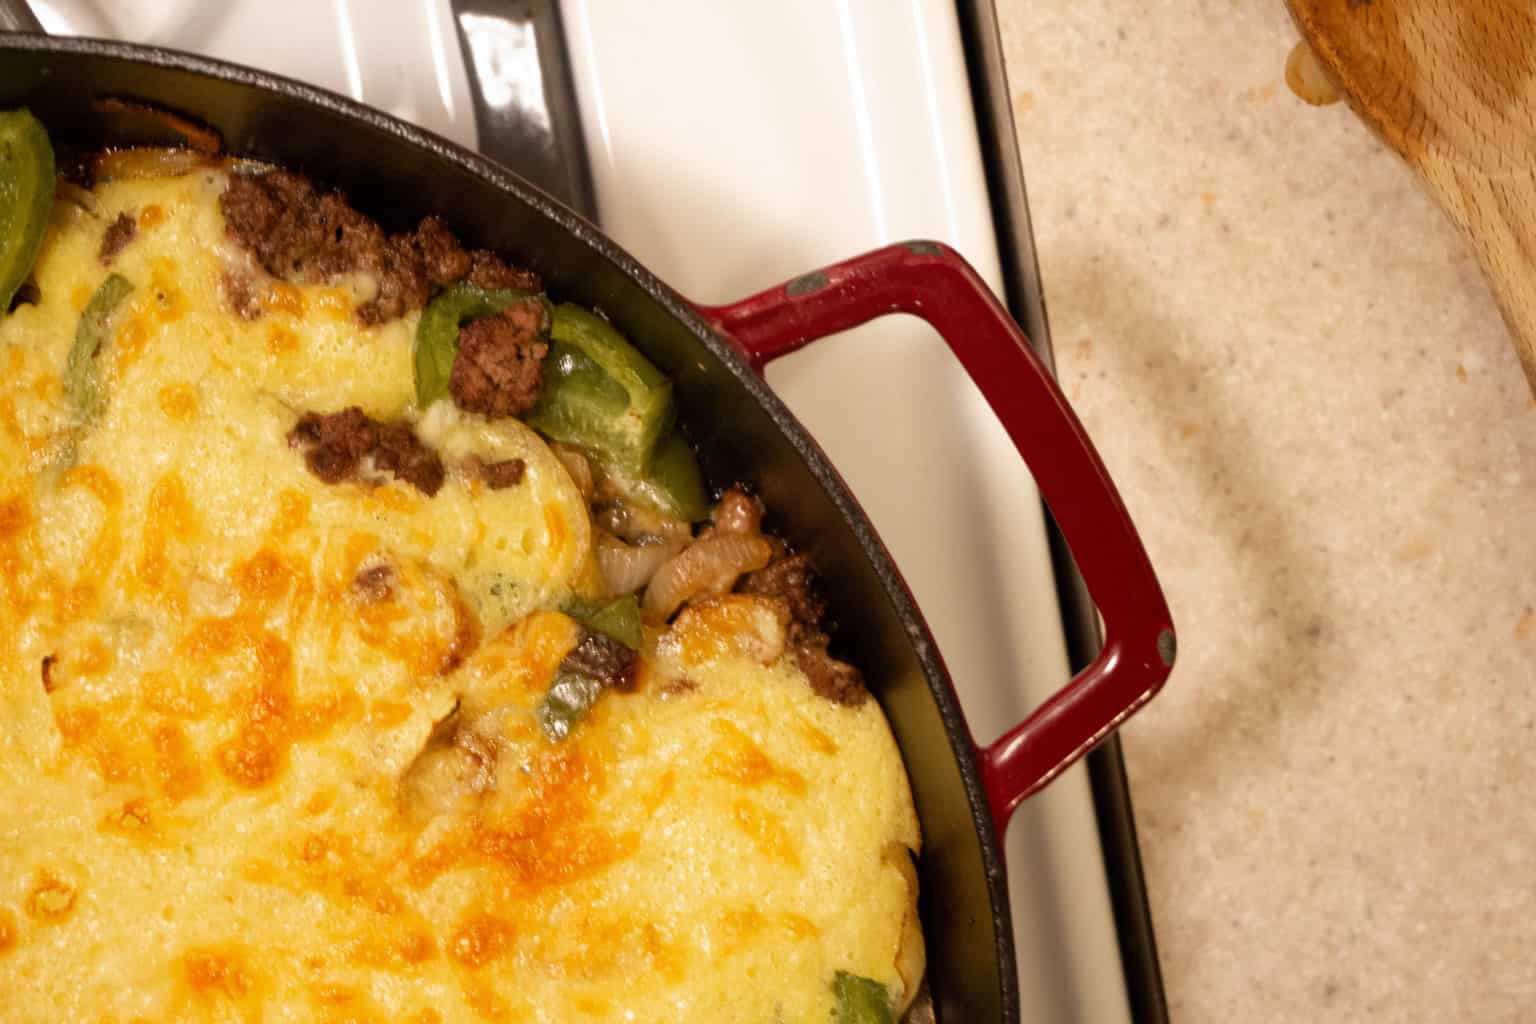
The Sourdough Skillet
I had never heard of a sourdough skillet before until I saw Lisa from farmhouseonboone.com making them. It is such an easy, cozy meal.
I have been making these once a week for a little while now, and I have adapted her recipe a tad to make it my own and fit in with what my family loves to eat. That’s the beauty of this recipe: It is SO adaptable!
You can make these with any type of meat, and in any style! Lisa even makes a Mexican style one that looks delicious. We are pretty simple Midwesterners at my house, so I started out with steak and potatoes (also delicious). After many trials, a basic beef, pepper, and onion mix is our favorite.
Beef, Onion, and Pepper Sourdough Skillet Ingredients
The Skillet
- 1 lb grass fed ground beef
- 2 onions (white or yellow)
- 1 green bell pepper
- 2 tbsp butter or Olive Oil
- Salt to taste
The Sourdough Topping
- 1.5 cups fed sourdough starter*
- 2 eggs (Lisa suggests 3, but we like it less egg-y. You do you.)
- 1 teaspoon salt
- 1 teaspoon garlic powder
- 3 tablespoons butter
- 2 teaspoons baking powder
- 1 1/2 cups cheddar cheese
*What do you mean by “fed” sourdough starter? Basically, just do your normal daily feeding in the morning and let your starter sit out on the counter until you’re ready to use it. This is especially important if you keep your starter in the fridge. If you plan to use it in the morning, take it out and feed it the night before.
Beef, Onion, and Pepper Sourdough Skillet Recipe
- Preheat your cast iron skillet on medium-high heat and preheat the oven to 400F.
- Over butter or oil, sauté onions until soft and edges get brown (5-10 min).
- Add in ground beef and salt and cook all the way through until all is browned.
- While the meat is cooking, prepare the topping mixture in a bowl. Mix together sourdough starter, eggs, salt, garlic powder, butter, and baking powder (no cheese yet). It kind of looks like pancake batter.
- Once the meat is fully cooked, add in bell peppers and cook for 1-2 minutes.
- Pour sourdough mixture on top, then sprinkle cheddar cheese over top.
- Put entire skillet in oven for 25 minutes (cheese will be a tad crispy).
- Enjoy!
This recipe is so hearty and delicious. You can adapt it by using any kind of meat (or make it vegetarian!) or veggies that your family will enjoy.
Once you gain some sourdough confidence, we can start using it in our every day recipes.
Let’s Try Something a LITTLE Harder
This really is not much harder than a skillet. Use your own judgment here. Your mixture will slightly depend on how thick your starter is. If you need to add less or more flour, or less or more milk, go for it!

Sourdough Pancake Ingredients
- 2 cups all-purpose flour
- 2 teaspoons baking powder
- 1 teaspoon baking soda
- 2 tablespoons sugar
- 1 teaspoon salt
- 1 cup sourdough starter
- 1 1/2 cups milk (I used buttermilk, but you don’t have to)
- 1 large egg beaten
- 2 tablespoons melted butter
**I usually use butter to oil the pan. Coconut oil is healthier, if that’s what you’re into.
Sourdough Pancake Recipe
- Preheat your cast iron skillet to medium heat.
- Mix the dry ingredients, then the wet ingredients in a stand mixer until combined.
- Add butter or oil to your skillet.
- Ladle a spoonful of pancake batter onto the hot pan. You may want to turn your stove down lower at this point (it really depends on your stove). Once it begins to bubble and the edges lift a little, flip the pancake (only flip a pancakes ONCE).
- Allow it to cook another 30 seconds or so on the other side.
- Repeat until the batter is gone, adding more butter or oil to pan when necessary. I trust you.
- Eat your delicious sourdough breakfast and feel super accomplished.
Side note, there is a saying that you always throw out the first pancake. That is because the skillet is sometimes not at the right temperature (or your baby is crying and the dog is barking and you look away for a minute too long). That’s Okay! The next pancakes will be better. Give the burnt one to whoever is misbehaving.
Let’s Move on to the Big Stuff
Do you feel ready? Now that you have successfully created TWO delicious sourdough recipes, you’re officially a homesteader in my book. Let’s make some bread.
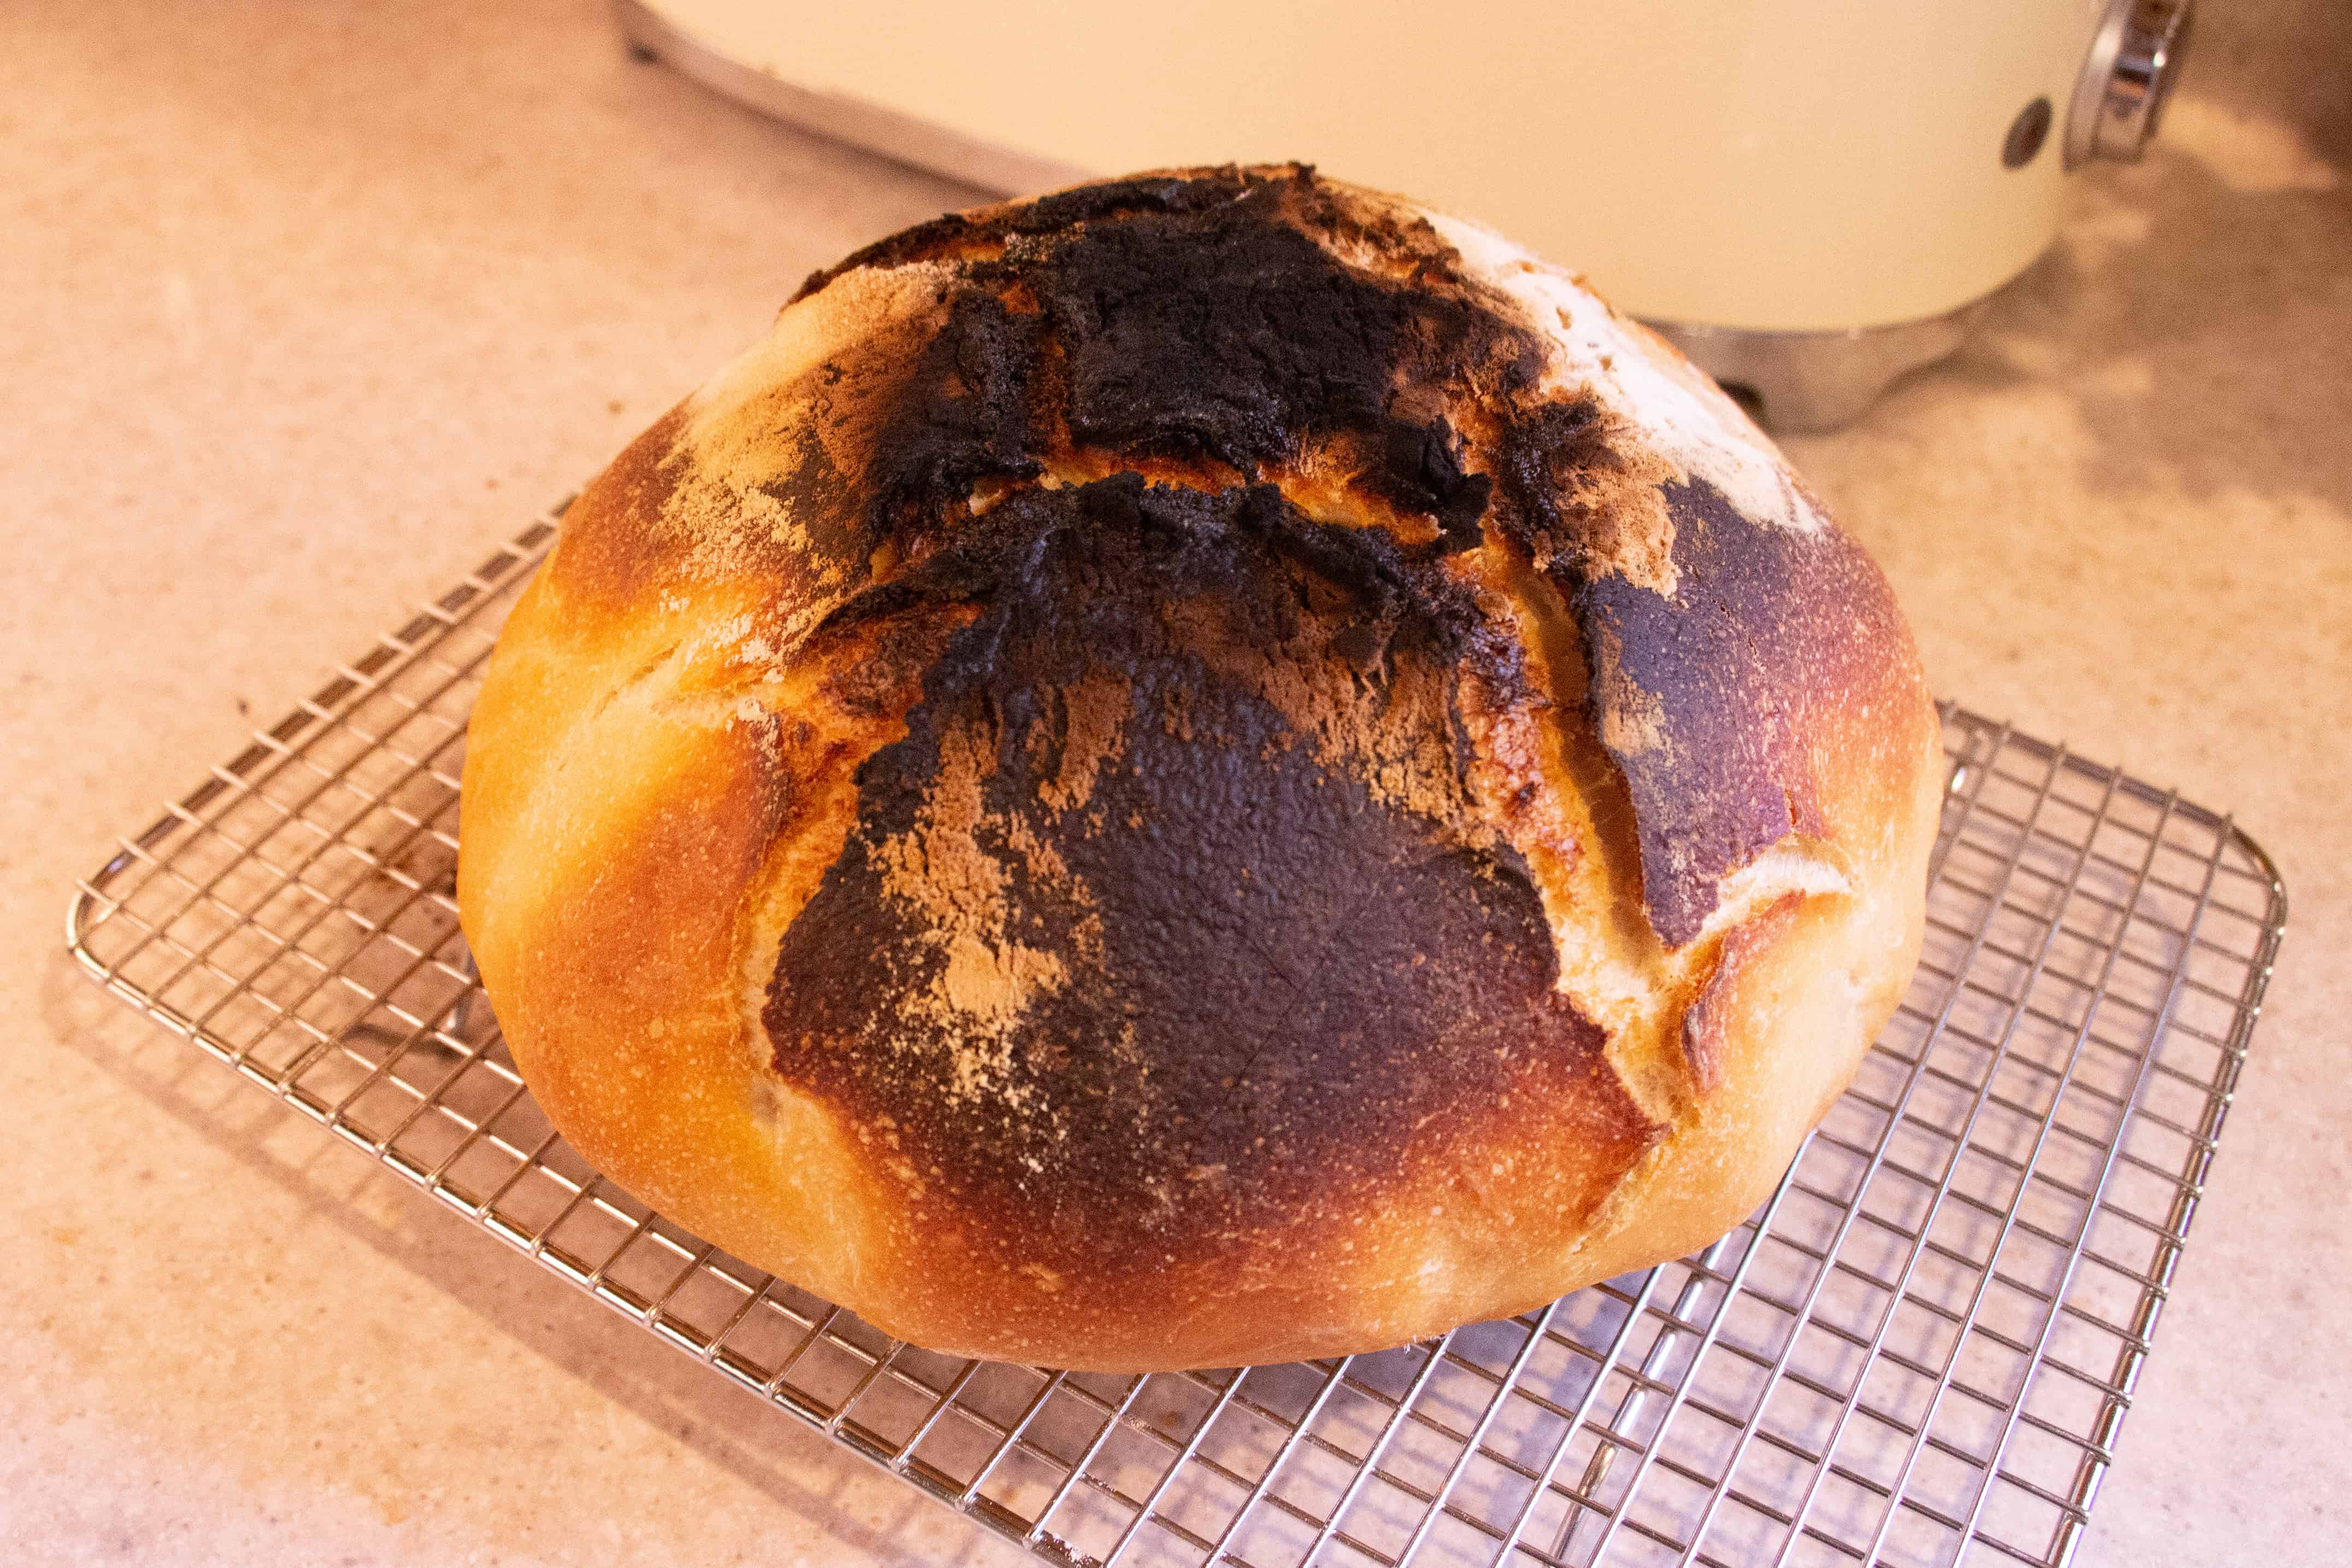
PAUSE RIGHT THERE. As you will see, I am NOT an expert. I used parchment paper the first time around… and it caught fire. Don’t use parchment paper in this hot of an oven.
You may need to wait until you build your sourdough starter back up to start the bread. Build it back up my adding more than your discard each day.
Sourdough Bread Ingredients
- 1 cup fed sourdough starter (if it is coming from the fridge, you may want to feed it twice before attempting bread).
- 1 1/4 cup filtered water
- 2 teaspoons salt
- 4 cups flour (ish. Keep some around. You may need to add more if your sourdough starter is really wet). I used all purpose flour, but I plan to experiment with bread flour as well.
Sourdough Bread Recipe
- Add all ingredients to a stand mixer with the dough hook until stretchy and pulling away from the sides of the bowl. You should be able to stretch out a small piece of the dough so thin that you can see through it. This takes longer than you’d think. Just keep mixing until it looks pretty. Maybe a full 5-10 minutes.
- Place dough in a ball form into a large oiled bowl and cover with beeswax wraps or lid (air tight).
- Allow to rise for 8 to 24 hours in a warm place. I like to do this in my microwave (off).
- The next day, the dough should have grown. Punch it down and reshape.
- Now you can put it back in the bowl to rise, or put it in a banneton basket. I don’t own one, so mine won’t be that pretty. Use what you have. Allow to rise for 2-3 more hours until it has doubled in size. This time depends on the climate of your house, so feel it out.
- Preheat oven to 500 degrees with cast iron Dutch oven inside.
- Turn the dough out into Dutch oven.
- Optional: Sprinkle with flour and score top.
- Place into the preheated Dutch oven.
- Bake 20 minutes with lid on at 500F.
- Remove lid, reduce heat to 450F, and bake an additional 20 minutes.
- Allow to cook before slicing (if you can resist! It truly does affect the texture of your bread).

I am not a sourdough expert, but I think for a beginner, the third loaf turned out pretty good! If you do want to learn from the Sourdough Queen, head over to Lisa’s blog for a ton of sourdough information and inspiration.
Brag to Friends About Your Sourdough Skills
Now that you are a sourdough expert, you should probably post pictures of all of your sourdough successes (and fails) on social media and use the hashtag #thehomesteadchallenge.
We are a community of beginners, and the best way to become a homesteader is to join each other, fail a lot, laugh and cry at our mistakes, and learn from them.
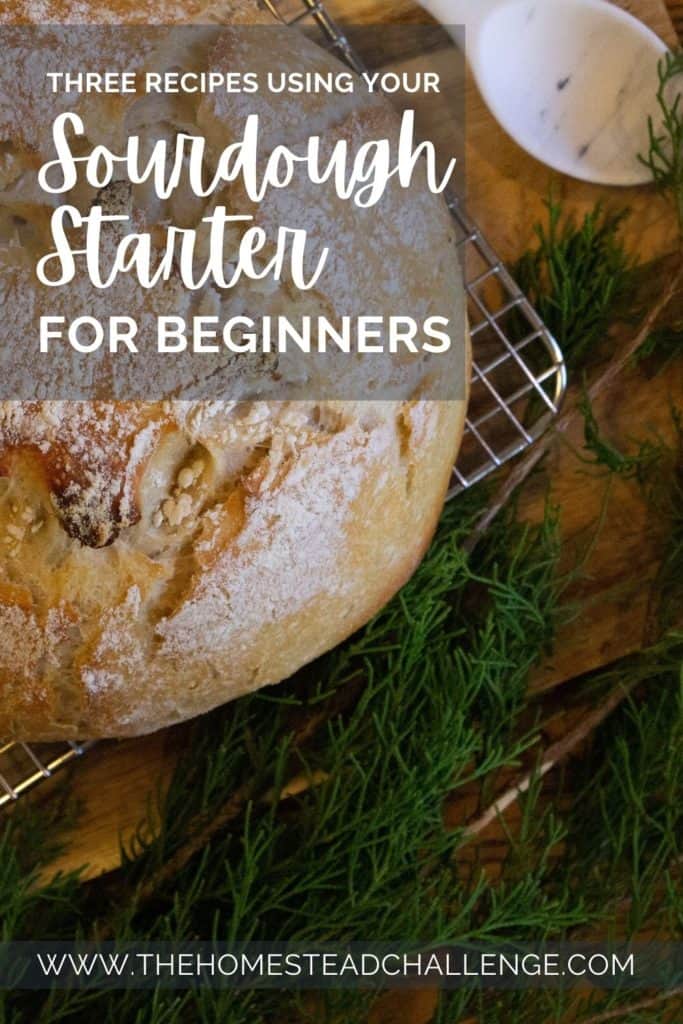
Pin It for Later!
Print it for Later!
Sourdough Skillet
Ingredients
- • 1 lb grass fed ground beef
- • 2 onions white or yellow
- • 1 green bell pepper
- • 2 tbsp butter or Olive Oil
- • Salt to taste
- • 1.5 cups fed sourdough starter
- • 2 eggs
- • 1 teaspoon salt
- • 1 teaspoon garlic powder
- • 3 tablespoons butter
- • 2 teaspoons baking powder
- • 1 1/2 cups cheddar cheese
Instructions
- Preheat your cast iron skillet on medium-high heat and preheat the oven to 400F.
- Over butter or oil, sauté onions until soft and edges get brown (5-10 min).
- Add in ground beef and salt and cook all the way through until all is browned.
- While the meat is cooking, prepare the topping mixture in a bowl. Mix together sourdough starter, eggs, salt, garlic powder, butter, and baking powder (no cheese yet). It kind of looks like pancake batter.
- Once the meat is fully cooked, add in bell peppers and cook for 1-2 minutes.
- Pour sourdough mixture on top, then sprinkle cheddar cheese over top.
- Put entire skillet in oven for 25 minutes (cheese will be a tad crispy).
- Enjoy!
Sourdough Pancakes
Ingredients
- 2 cups all-purpose flour
- 2 teaspoons baking powder
- 1 teaspoon baking soda
- 2 tablespoons sugar
- 1 teaspoon salt
- 1 cup sourdough starter
- 1 1/2 cups milk I used buttermilk, but you don’t have to
- 1 large egg beaten
- 2 tablespoons melted butter
Instructions
- Preheat your cast iron skillet to medium heat.
- Mix the dry ingredients, then the wet ingredients in stand mixer until combined.
- Add butter or oil to your skillet.
- Ladle a spoonful of pancake batter onto the hot pan. You may want to turn your stove down lower at this point (it really depends on your stove). Once it begins to bubble and the edges lift a little, flip the pancake (only flip a pancakes ONCE).
- Allow it to cook another 30 seconds or so on the other side.
- Repeat until the batter is gone, adding more butter or oil to pan when necessary. I trust you.
- Eat your delicious sourdough breakfast and feel super accomplished.
Basic Sourdough Bread
Ingredients
- 1 cup fed sourdough starter if it is coming from the fridge, you may want to feed it twice before attempting bread.
- 1 1/4 cup filtered water
- 2 teaspoons salt
- 4 cups flour ish. Keep some around. You may need to add more if your sourdough starter is really wet.
Instructions
- Add all ingredients to a stand mixer with the dough hook until stretchy and pulling away from the sides of the bowl. You should be able to stretch out a small piece of the dough so thin that you can see through it.
- Place dough in a ball form into a large oiled bowl and cover with beeswax wraps or lid (air tight).
- Allow to rise for 8 to 24 hours in a warm place. I like to do this in my microwave (off).
- The next day, the dough should have grown. Punch it down and reshape.
- Now you can put it back in the bowl to rise, or put it in a banneton basket. I don’t own one, so mine won’t be that pretty. Use what you have. Allow to rise for 2-3 more hours until it has doubled in size. This time depends on the climate of your house, so feel it out.
- Preheat oven to 500 degrees with cast iron Dutch oven inside.
- Turn the dough out into dutch oven.
- Optional: Sprinkle with flour and score top.
- Place into the preheated Dutch oven.
- Bake 20 minutes with lid on at 500F.
- Remove lid, reduce heat to 450F, and bake an additional 20 minutes.
- Allow to cook before slicing (if you can resist! It truly does affect the texture of your bread).
The sourdough skillet looks the best. Plus I learned not to use parchment paper on my sourdough bread. Lol
I love the idea of using the sourdough starter for other things. I’ll definitely be trying these. Thank you!
Let us know how it works out!
The skillet came out great! We had it for breakfast, but seems like it would be good any time of day. Good recipe to add to the weekly rotation!
So helpful. Pinning for later. Thanks for sharing your wisdom.
this in on my bucket list to try this coming new year
Such great ideas! I will be starting my sourdough starter after I get settled into our new home. I can’t wait to try these:)
Oh do I love this post! I am in full-blown sourdough addict mode and making everything sourdough lately. This has some great ideas!
I love all things sourdough and this is such and inspiration and great post!
I STILL come back to these recipes time and time again!