
Early Spring Gardening Tips: Things You Can Do While It’s Still Cold Outside
The best early spring gardening tips to get you ready for the garden season ahead.
As the frost thaws and the first green shoots peek through the soil, I find myself eager to reconnect with my garden. By February, I’m already roaming garden centers and dreaming about the season ahead. But one of the biggest mistakes I’ve made in past years? Waiting until the weather is nice to start gardening.

The truth is, you don’t have to wait to start preparing for your best garden season yet. There are so many things you can do now—even if it’s still cold outside—to make your life easier and your plants thrive when spring finally arrives. The key is getting ahead of the work now so you’re not scrambling when warm weather hits.
So, whether you’re reading this in January, March, or somewhere in between, here are practical early spring gardening tips to set you up for success!

Grab your Free Routine
The 15 Minute Homestead Routine (for busy days).
Want a simple morning rhythm that keeps your home running, your garden growing, and your goals on track? Grab my free 15-Minute Morning Routine Worksheets—designed to help you build homestead habits that stick.
Listen on the Podcast

As an Amazon Associate, I earn from qualifying purchases. Please visit my privacy + disclosure page for more details.
1. Start Clearing Leaves and Debris (But Not Too Much!)
While it’s tempting to rake up every last leaf, hold off on a full cleanup until temperatures are consistently above 50°F. Beneficial insects like butterflies, bees, and ladybugs overwinter in leaf litter, and clearing everything too early can disrupt their survival.
- Focus on high-traffic areas like patios, pathways, and garden beds you need access to early.
- Gently move leaves away from perennials that are beginning to pop up (too many leaves can smother new growth).
- If needed, prune dead plant material from perennials like strawberries and herbs.
You can put the debris in your compost pile or compost tumbler. Carefully dig out any weeds, ensuring you get their roots to prevent them from coming back.
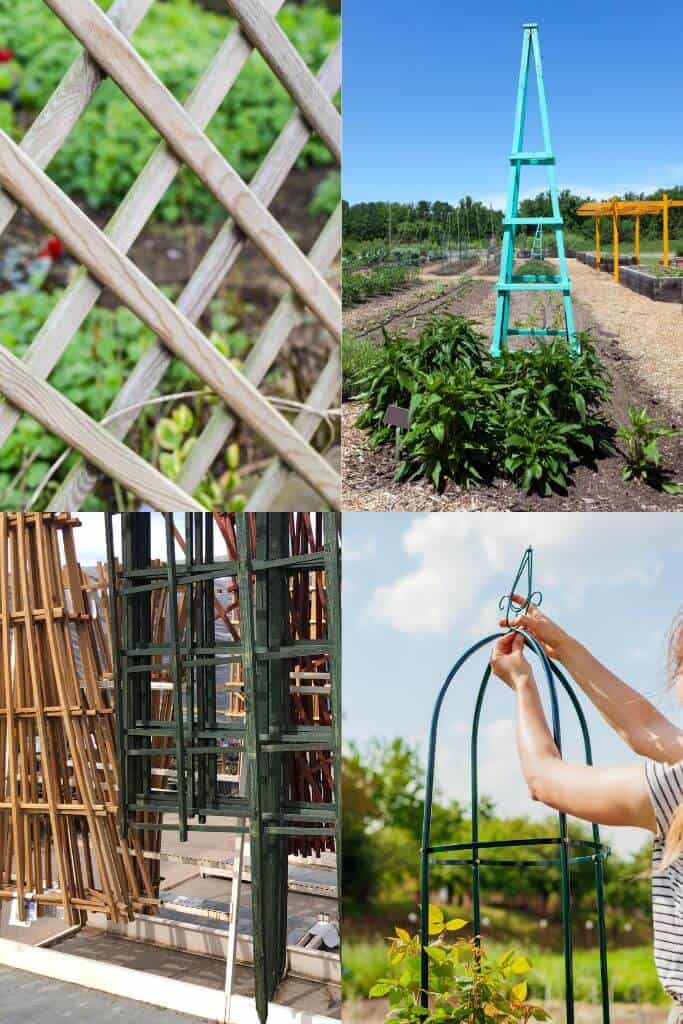
2. Build Garden Beds and Structures
If you’re planning to add new raised beds, trellises, garden fences, or even a patio, now is the time! The ground is still soft from winter moisture, making it easier to dig and level out areas before the dry season arrives.
I always start my spring gardening by focusing on getting my garden beds ready for planting. Some years, this looks like building a new raised garden bed or buying new pretty pots.
- Build or repair raised beds now, so they’re ready for soil and plants.
- Install trellises and arches for climbing plants (if you’re upgrading, now’s a good time—I just replaced mine after a fallen tree took out my old one!).
- If you’re planning big projects like patios, pathways, or greenhouses, knock them out now before it gets too hot.

3. Map Out Your Garden Layout
One mistake I’ve made? Not planning my garden before planting. It led to overcrowding, poor plant placement, and an overall mess. This year, let’s do it right!
- Sketch out a simple garden layout on paper or use a digital garden planner.
- Plan spacing—don’t overcrowd plants just because they look small now.
- Think about companion planting (e.g., tomatoes + basil, carrots + onions).
Organizing Plant Areas
Before I plant, I plan where I want what plants. Here’s how I organize:
- Sectioning off areas: I use natural markers or string to divide sections for different plant types.
- Accessibility: Paths are kept clear so I can easily access my plants for maintenance and harvesting.
By carefully preparing your garden beds, you’ll create a fantastic foundation for your spring garden.

Free Printable Garden Planner
Download your free garden planner printable template for Canva! Fully customizable and freshly updated for 2025!
💡 I also have a printable garden planner in my Etsy shop if you need more tools to organize your ideas!
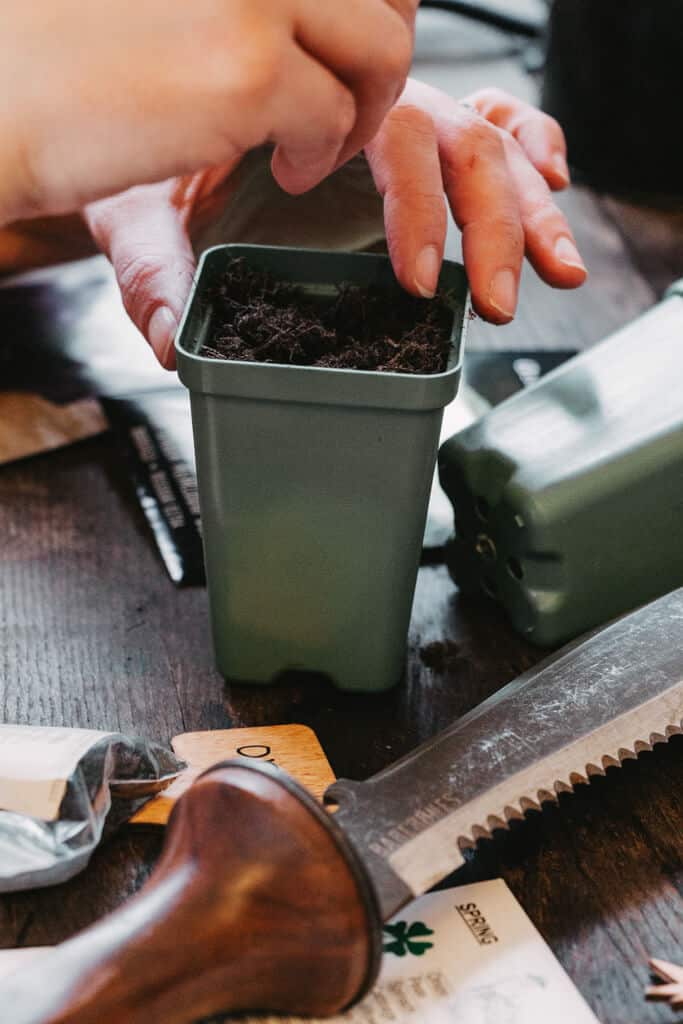
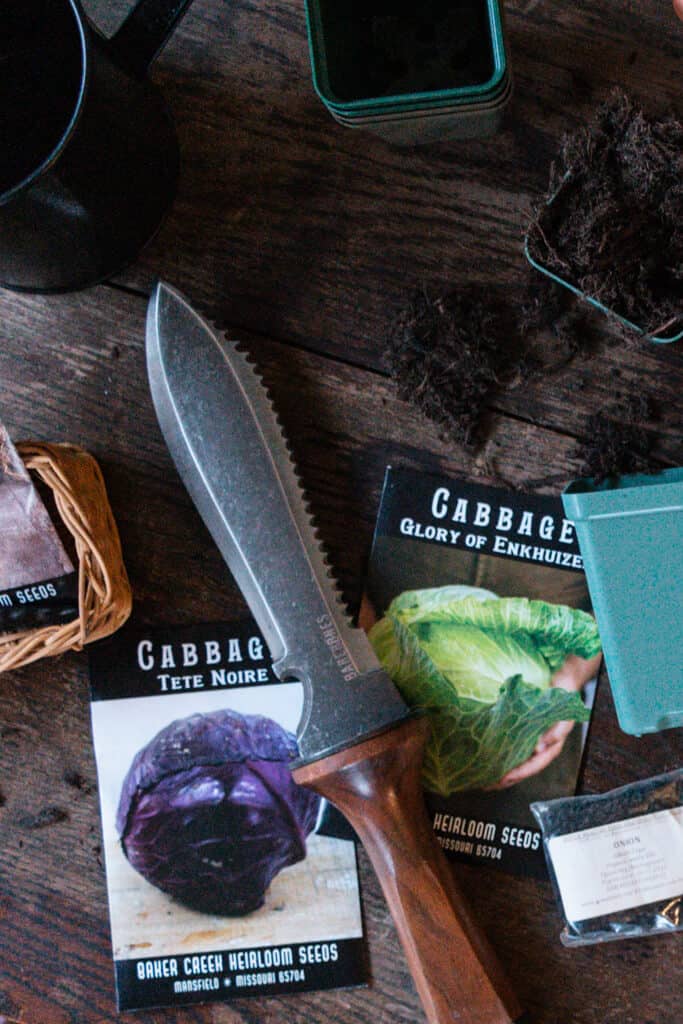
4. Start Seeds Indoors
If you haven’t started your seeds yet, you’re not too late! First, organize your garden seeds and purchase anything you need, then start your seeds indoors!
- Best seeds to start indoors now: Tomatoes, peppers, kale, broccoli, herbs, and flowers.
- Skip indoor starting for: Root crops like carrots and radishes (they grow best when direct-sown).
Seed Starting Supplies
For my first year starting seeds, I went all out and purchased the Homesteader Seed Starting Bundle from Bootstrap Farmer (this is an affiliate link, but I bought the bundle on my own and loved it so much that I decided to become an affiliate!). It is very high quality and seems like it will last for many many years. Oh, and it is super cute. You can see the two sizes of pots it comes with in the photo below.

In addition to the starter pots and trays, I also purchased grow lights and heat mats from Amazon to be sure my baby plants have enough warmth, as it is still snowy where I live.
If you don’t have the setup for seed starting, don’t stress! Check local nurseries for plant starts—they’re a great alternative without all the work.
5. Prep Your Soil for Planting
Every year, I notice my plants grow better when I prep the soil early. There’s something about getting the soil in place, letting it soak up some rain, and giving it time to settle. Adding nutrients now helps promote strong plant growth later.
- Test your soil and enrich it by adding soil amendments based on your results. (cheap kits are available online or through your extension office).
- Add compost or organic matter to boost nutrients.
- If building new beds, layer organic materials (cardboard, leaves, branches) before adding soil.
💡 Pro tip: If buying soil in bags, check places like Costco—I found organic raised bed mix for $5 per bag!
6. Mulch Your Paths and Beds
Mulch is a game-changer for keeping weeds down and retaining soil moisture, but most people wait too long to apply it! For raised garden beds, I ensure there’s a fresh layer of mulch to retain moisture and suppress weeds.
- Spread mulch now in garden paths to block early weeds.
- Top off garden beds with mulch like straw, shredded leaves, or dye-free wood chips.
- Choose organic, undyed mulch that breaks down into compost over time.
7. Set Up Irrigation Before You Need It
Dragging hoses around all summer isn’t fun. If you’re considering drip irrigation, soaker hoses, or rain barrels, install them now before the busy planting season.
- Rain barrels should be set up now to start collecting spring rain.
- Soaker hoses and drip irrigation can be placed before adding mulch to keep them hidden.
8. Harden Off Cold-Tolerant Plants
If you’ve started cold-hardy plants indoors, they’ll need time to adjust before going outside full-time.
- Bring seedlings outside for a few hours each day in a sheltered spot.
- Gradually increase their outdoor time over a week or two.
- Once adapted, they’ll be ready for transplanting when the time comes.
9. Clean and Organize Your Garden Tools
Let’s be real—this is my least favorite task. But getting it done now makes life so much easier later! Ensure all your tools are in good condition. I like to think of this as a spring cleaning for my garden equipment—it really makes the hard work later on much more manageable!
Here’s how to keep your tools in tip-top shape:
- Cleaning: Wash all garden tools with warm, soapy water. For stubborn dirt, use a wire brush or putty knife. Once they’re clean, dry them thoroughly to prevent rust.
- Sharpening: Dull tools make gardening tougher than it needs to be, so sharpen shears and spades with a mill file.
- Oiling: To protect against rust and ensure a smooth operation, lubricate moving parts with oil.
- Storing: At the end of the day, store tools off the ground to avoid moisture damage. Wall hooks or shelves work great for this.
- Seed Packets: Keep seed packets organized and dry in a labeled container or binder. This way, you’ll know exactly what you have when it’s time to start planting.
By following these simple steps, my tools are always prepared for when I need them, and I can get straight into the enjoyable part of gardening—watching my plants grow!
10. Start a Garden Journal
You think you’ll remember what you planted where… but you won’t.
Track the following:
- What you planted and when.
- What worked well (and what didn’t).
- Baby plant pictures so you don’t confuse perennials with weeds.
A garden journal also helps you break up big tasks into manageable to-do lists so you don’t feel overwhelmed!

11. Dividing Existing Perennials
In early spring, as new growth appears, you can divide your perennials. This rejuvenates the plants by encouraging more robust growth and helps manage plant size. Plus, you get an extra plant! Ensure each section of the perennial has a part of the root ball to sustain it.
To divide a perennial:
- Water plants thoroughly a day before dividing.
- Dig around the plant with a shovel, and gently lift out the root ball.
- Separate the root ball into sections using a knife or spade.
- Replant each section at the same depth it was originally growing.
Get Ahead Now, Stress Less Later
If you’ve ever felt rushed and overwhelmed once gardening season starts, this is your chance to get ahead. By knocking out a few of these tasks now, you’ll be able to enjoy warm-weather gardening instead of scrambling to catch up.

My Top 6 Budget Friendly Amazon Garden Finds for A New Garden
If you’re starting a new garden and are looking to save a little money, I highly recommend checking out my top 6 budget friendly Amazon Garden finds.

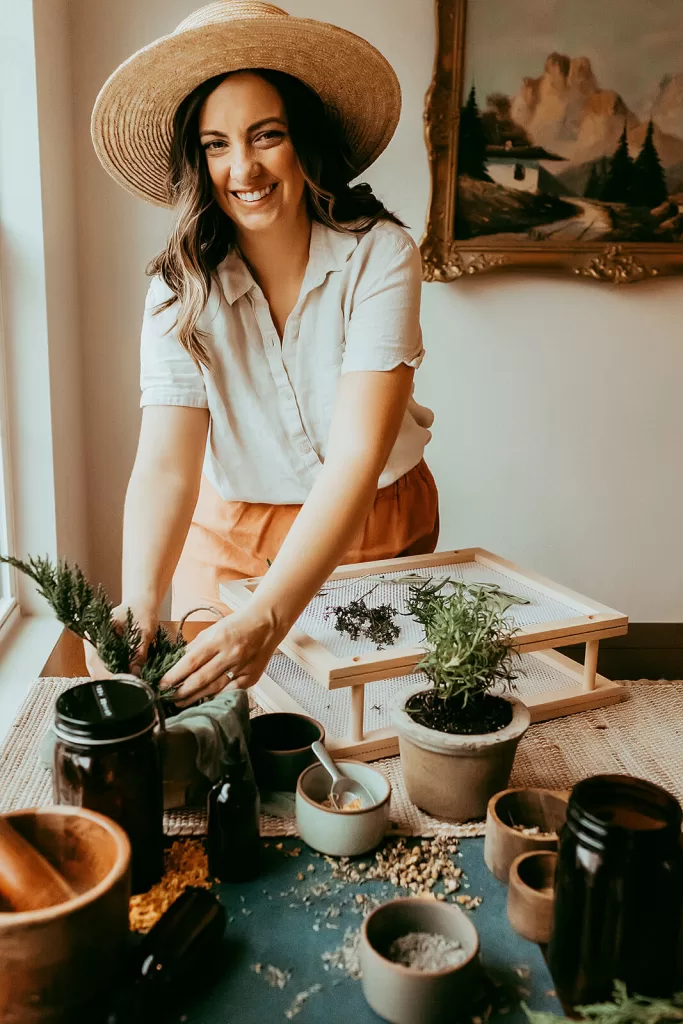
About the Author
Brittany Gibson is a modern suburban homesteader and the founder of The Homestead Challenge. She empowers women to adopt a simpler, more self-sufficient lifestyle, feeling confident to grow, create, and thrive on their own terms with joy and balance.
Read more about my transformation and join me in building our lives from scratch.
This is so great! We recently bought our first home so I’m learning everything I need to do to prep for spring. I can’t wait to build a garden and start growing my other things. I am definitely going to follow your tips and tricks! Thanks so much for sharing!
That amazing! Congrats and Happy Gardening!
Hola, somos uñ matrimonio de la 3a edad que decidimos irnos a vivir al campo. No ha sido fácil porque no había nada plantado cuando llegamos, habían sacado vides así es que la tierra estaba muy estéril. 5 años después hemos logrado hacer un jardín, han llegado más de 30 aves en algún momento del año y han proliferado muchos insectos beneficios os para la tierra. También nos visitan mariposas en la época de calor. La tierra es arcillosa por lo que también es difícil de trabajar porque es muy dura cuando se seca. Llegamos en el peak de la sequía, por suerte ahora estamos en el tercer año con lluvias normales, así es que tenemos mucha agua de pozo.
Tenemos mucho espacio por cultivar aún pero ahí nos faltan las fuerzas. Hoy sembramos habas y porotos, pensamos sembrar arvejas también. Estoy muy contenta de conocerte, tus consejos son muy útiles, aquí no hay quien enseñe las tareas agrícolas y a mí me gustan mucho. En mi juventud tuve un vivero de plantas, no he estudiado nada del tema, es intuitivo, en realidad soy una agrónoma frustrada porque no pude estudiar eso. Estudié Geografía porque igual me gusta pero no trabajé en ello, me dediqué a otras cosas. Saludos y gracias.