
How to Start Fermenting Vegetables (Start With This Veggie!)
Learn the basics of fermenting sauerkraut to learn how to start fermenting vegetables. I promise it’s not that scary.
Fermentation is becoming increasingly popular as more people realize the health benefits it offers. It’s a great way to enhance gut health, support the immune system, and boost overall well-being. Fermenting vegetables at room temperature helps to cultivate beneficial bacteria that aid digestion and contribute to a healthier gut flora.
As I begin my journey into vegetable fermentation, I’m excited to explore the world of lactic acid bacteria and the wonders they bring to my gut, using simple tools like a glass jar or a mason jar. Join me as we discover the art of fermentation and its incredible impact on our health.
- Fermenting vegetables enhances gut health and supports the immune system.
- Fermentation is a super easy and effective method of food preservation.
- Beneficial bacteria are cultivated during fermentation, contributing to a healthier gut flora.
The Basics of Natural Vegetable Fermentation
Fermentation Process Explained
Home vegetable fermentation is a simple yet fascinating process where beneficial bacteria, primarily lactic acid bacteria, naturally present on the surface of vegetables, transform the sugars and starches in the vegetables into lactic acid. This occurs in an anaerobic (oxygen-free) environment created when the vegetables are submerged in a saltwater brine. The salt in the brine helps to draw out water from the vegetables and inhibit the growth of harmful bacteria, allowing only the good bacteria to thrive. As these bacteria digest the natural sugars in the vegetables, they produce lactic acid, which acts as a natural preservative.

Grab your Free Routine
The 15 Minute Homestead Routine (for busy days).
Want a simple morning rhythm that keeps your home running, your garden growing, and your goals on track? Grab my free 15-Minute Morning Routine Worksheets—designed to help you build homestead habits that stick.
This not only gives fermented vegetables their distinct tangy flavor but also increases their nutritional value by enhancing vitamin content and making them easier to digest. The result is a delicious, probiotic-rich food that supports gut health and can be stored for longer periods than fresh produce.
The Role of Salt
Salt acts as a natural preservative, inhibiting the growth of bad bacteria while allowing beneficial bacteria, like lactic acid bacteria, to thrive.
The amount of salt is crucial; I use about 1.5 tablespoons of salt per pound of vegetables. This creates a salty environment, often achieved using a salt brine, where harmful bacteria cannot survive, while the beneficial ones flourish. Sea salt is a great option for this purpose.
Choosing the Right Fermentation Equipment
Choosing a Vessel for Fermentation
Mason jars are a popular and convenient choice for home fermentation, and their size can vary depending on the amount of vegetables you plan to ferment. Here’s a guide to choosing the right size:
- Small Batches (Pint-Sized, 16 oz Jars): Ideal for experimenting with new recipes or if you’re fermenting for just one or two people. They’re great for small vegetables like garlic cloves, relish, or cherry tomatoes.
- Medium Batches (Quart-Sized, 32 oz Jars): These are perhaps the most versatile for home fermentation. They’re perfect for regular use and can comfortably hold a medium-sized cabbage turned into sauerkraut or a decent amount of pickled cucumbers.
- Large Batches (Half-Gallon, 64 oz or Gallon-Sized, 128 oz Jars): Best for when you have a lot of produce, like during a harvest season, or if you’re fermenting for a large family. These jars can handle larger quantities of vegetables like whole pickles, large batches of kimchi, or multiple heads of cabbage.

When choosing a jar, also consider:
- Headspace: Leave enough space at the top of the jar (about 1-2 inches) to allow for the expansion of the contents during fermentation.
- Opening: Wide-mouth jars are easier to pack with vegetables and to clean afterward.
- Material: Always use food-grade glass jars to avoid any unwanted chemical reactions that can occur with plastic or metal containers.
Remember, the key is to have enough room to not only fit your vegetables but also enough brine to cover them completely, along with some space to allow for the release of gases during fermentation.
Other Tools for Fermentation
As an Amazon Associate, I earn from qualifying purchases. Please visit my privacy + disclosure page for more details.
- Fermentation Crock/Glass Jar: A vessel for the fermentation process, with enough space to hold the cabbage and brine. Mason jars are a popular choice.
- Fermenting Weights: Glass weights are used to keep the vegetables submerged under the brine.
- Filtered water (don’t want to use tap water unless you have a whole house filtration system). Before I had a system, I filtered my water through my Alexapure water filter.
You don’t necessarily need special equipment to ferment vegetables.
Many items you might already have at home can be used for fermentation. Here are some suggestions:
- Glass Jars: Common kitchen jars, like mason jars, are perfect for small batches of fermented vegetables. Make sure they are clean and sterilized.
- Weights: To keep vegetables submerged in the brine, you can use a smaller jar filled with water as a weight, or even a clean, boiled rock. I’ve even used a glass shotglass!
- Cloth Covers: Instead of airtight lids, you can use cheesecloth or a clean kitchen towel secured with a rubber band over the jar to allow gases to escape while keeping contaminants out.
- Utensils: Use standard kitchen utensils like knives for chopping and a bowl for mixing vegetables with salt.
- Salt: Non-iodized salt, like sea salt or kosher salt, is typically available in most kitchens and works well for fermentation.
Remember, the key to successful fermentation is cleanliness, so ensure that all equipment is thoroughly washed and, where possible, sterilized.
The Easiest Vegetable To Start Fermenting: Cabbage
Cabbage the simplest thing to learn to ferment, in my opinion, and requires only a few basic ingredients to get started. With just a head of cabbage, some non-iodized sea salt, a fermentation crock or glass jar, and a weight, you’re on your way to making your own fermented sauerkraut.
So why make sauerkraut? That is a super weird thing to start out making, isn’t it? Not exactly. Fermenting really scared me at first. In order to start very small and learn the basics, sauerkraut is an important step (even if you don’t really like it). I’ll be honest, I did not used to like sauerkraut, and now we have it almost every week on brats. I have learned so much through reading from this book, Fermented Vegetables by Kirsten and Christopher Shockney.
How do you make sauerkraut?
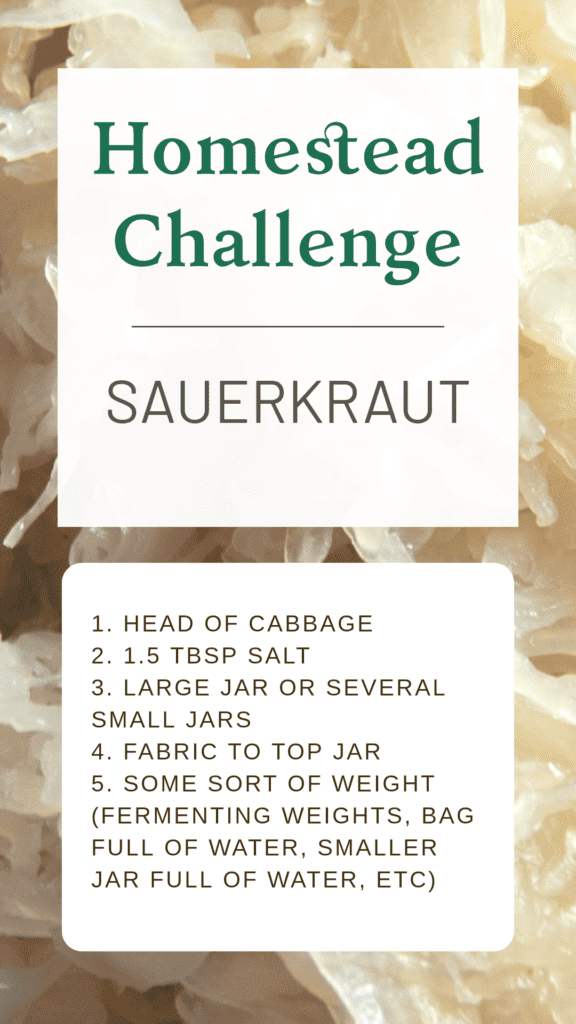
- Gather a head of cabbage, 1.5 tbsp salt, a mason jar, and a fermenting weight.
- Add salt to the cabbage little by little, massaging gently.
- Once cabbage is limp, let sit for 45 minutes.
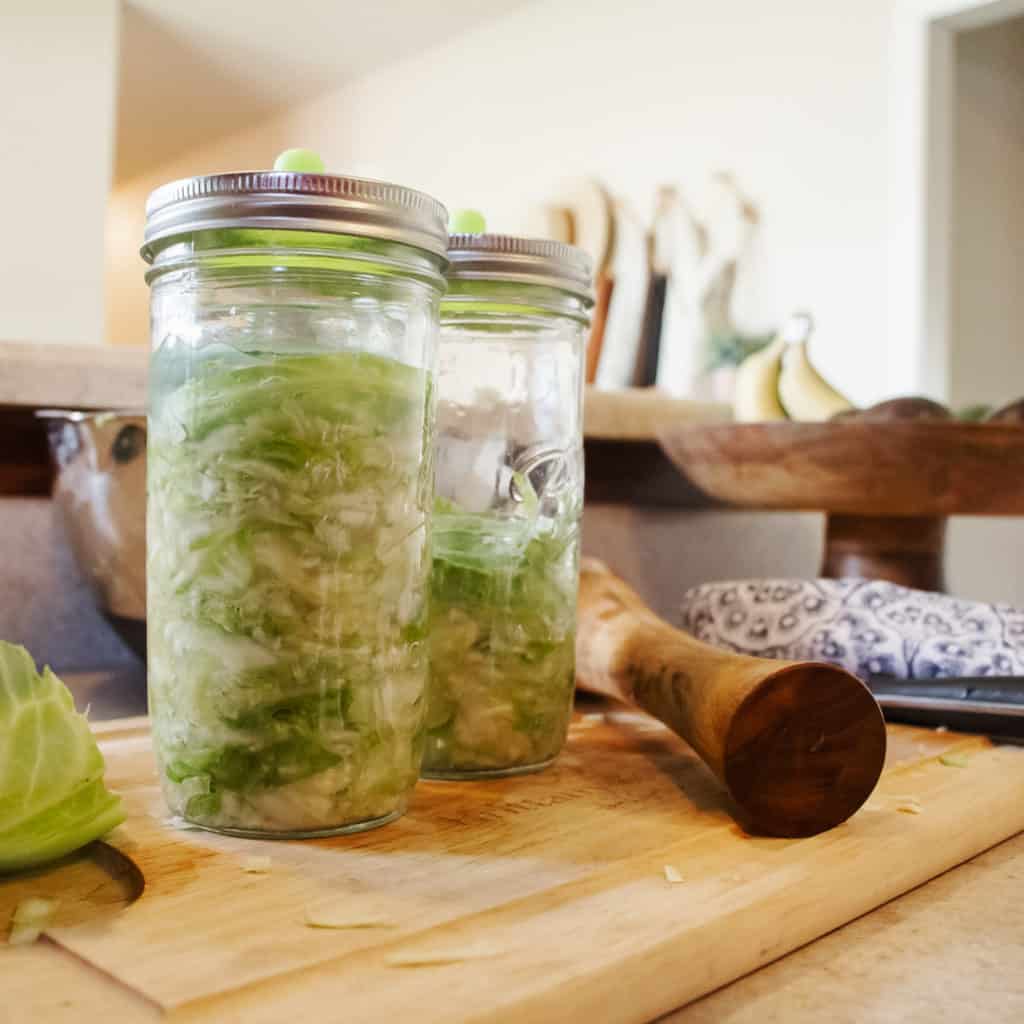
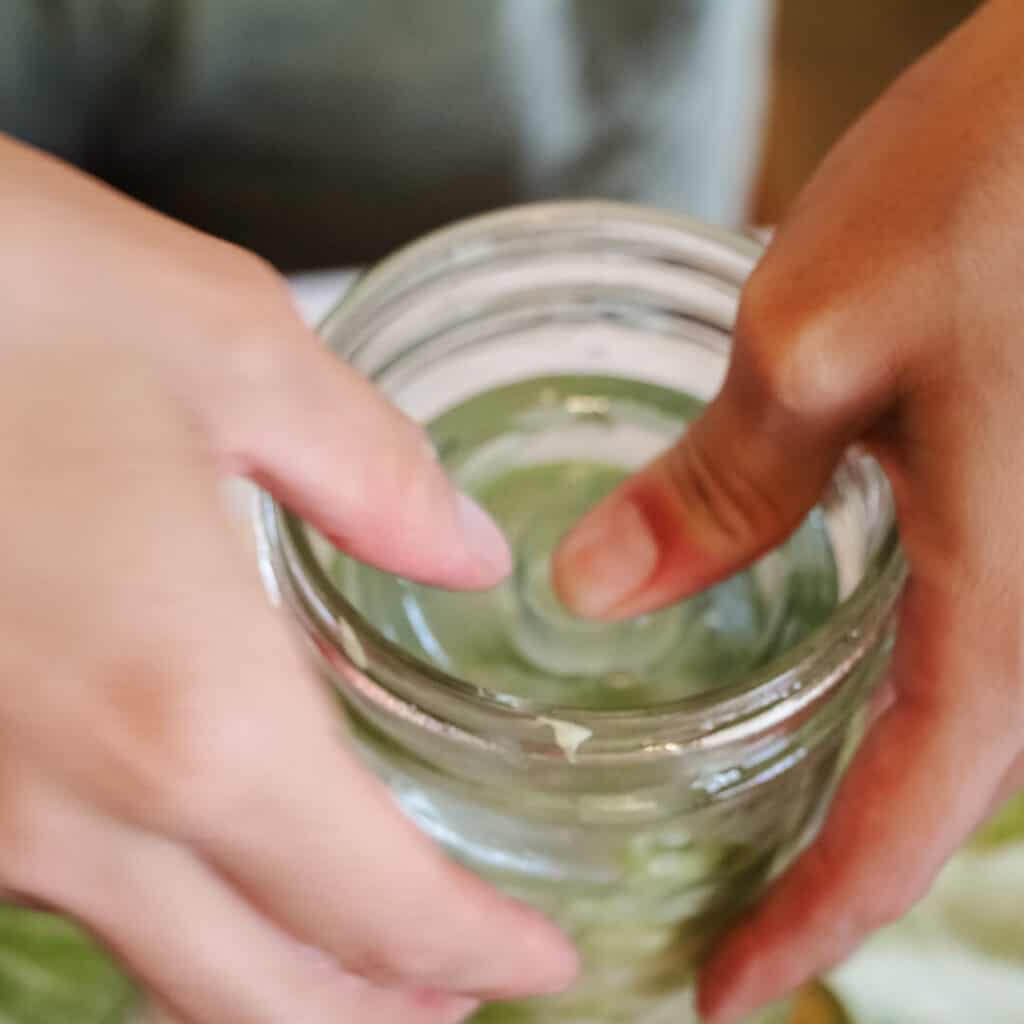
- Massage again and press into your mason jar.
- Make sure the brine is above the cabbage and top with weight.
- Let ferment for at least 3 days and enjoy.
Make sure to check the ferment daily, ensuring the top of the jar or crock remains clean and free from any harmful bacteria. Keeping the vegetables submerged under the brine is crucial to prevent unwanted mold growth. Cold storage, such as a refrigerator, is essential for prolonging the life of the fermented food once the desired level of fermentation is reached.
The ingredients are seriously that simple. Cabbage, salt, and a few things you may already have around the house. You really can’t screw it up!

Step by Step Instructions for Sauerkraut
1. Wash the cabbage. This was even a new step for me. I have never handled cabbage, and I don’t like lettuce. Isn’t this for rabbits? I pulled off the outer layer (save to use later) and gave the thing a little rinsey-roo (this is what I call how I wash my veggies, as I buy organic so I usually don’t spend much time washing. If you don’t, I suppose you should spend more time to get off the pesticides). Then shred. You can thinly slice with a knife, but I have had best results with a super thin slice using a mandoline (I learned how from this guy).

2. Add the salt little by little, massaging into the cabbage. Most recipes say you won’t even need all the salt as the brine will start to release, but we are pretty salty in this household, so I use the whole amount.
3. Taste it as you go and if it tastes good now, it will taste better later. If it tastes bad now, it will taste worse later.
4. Cover it with a towel or beeswax wrap (please don’t use plastic wrap. This should be pretty obvious by now) and let stand for about 45 minutes. The beauty of this is that nothing is exact, so get back to it when you can.
5. Massage it again and start pressing it into your jar of choice. I usually use two of the 24oz wide mouth Ball jars, but I can’t stress enough that it does not matter what kind of jars you have (especially since the prices for Ball jars are currently overinflated due to Covid-19 at home canning pursuits). You can press it down with a wood spoon or your hands, but I got fancy and used a wood stick thing made for this.

6. Top it off with one of those cabbage leaves you set aside cut to fit the jar you have. This will help keep the cabbage shreds under the brine so they don’t go bad.
7. Leave it to ferment! We like to leave ours for at least 3 weeks for the cabbage to soften and the flavor to develop. Honestly, 1 month is better! Taste it and once it is to your liking, use it up and store in the fridge for up to six months.
Tips for Making Sauerkraut for Beginners

Let me know how your sauerkraut turns out! Once you have mastered the basics, try something a little more complicated.
Enjoying Your Fermented Vegetables
After fermenting, you can enjoy your vegetables as a tangy addition to your meals. The fermented veggies, now rich in probiotics, can be stored in a mason jar in the refrigerator to halt the fermentation process, extending their shelf life.
- Acquiring the Taste:
- Start Small: If you’re new to fermented foods, begin with small amounts. The sour, tangy flavor can be quite strong, so introducing it gradually is key.
- Mix with Familiar Foods: Combine fermented vegetables with foods you already enjoy. Adding a bit of sauerkraut to a sandwich or some kimchi in a stir-fry can make the transition easier.
- Utilizing Fermented Vegetables in Meals:
- As a Condiment: Use fermented veggies like pickles or kimchi as a zesty condiment for burgers, tacos, or sandwiches.
- In Salads: Chop them up and add to salads for a burst of flavor and texture.
- In Cooked Dishes: Incorporate them into cooked dishes like soups, stews, or stir-fries. This can also mellow the flavor for those still getting accustomed to it.
- Introducing Fermented Foods to Kids:
- Lead by Example: Children are more likely to try new foods if they see adults enjoying them.
- Involve Them in the Process: Kids are often more interested in eating something they’ve helped make. Let them help with safe parts of the fermentation process.
- Fun Presentations: Serve fermented vegetables in a fun, appealing way. Think colorful pickles on a skewer or a small serving of sauerkraut alongside their favorite meal.
- Mild Flavors First: Begin with milder ferments like carrot sticks or homemade yogurt, which tend to be more kid-friendly.
Remember, everyone’s palate is different, and it may take time for some to enjoy the unique flavors of fermented foods. Patience and creativity in incorporating these foods into your diet can make a big difference.
Fermenting Vegetables Helps Reduce Kitchen Waste
Fermenting vegetables is a fantastic way to reduce food waste for several reasons:
- Preservation of Surplus Produce: Often, we buy or harvest more fresh vegetables than we can consume before they spoil. Fermentation extends their shelf life significantly, allowing us to enjoy them over a longer period. This means that the surplus or near-expiring vegetables in your fridge can be fermented instead of being thrown away.
- Utilizing Imperfect Vegetables: Fermentation is forgiving of imperfections. Slightly bruised or overripe vegetables, which might not be ideal for fresh consumption, can still be perfectly good for fermenting. This allows us to use produce that would otherwise be discarded.
- Minimal Processing Requirements: Unlike other preservation methods that might require peeling or cutting away parts of the vegetable, fermentation can often use the whole vegetable, including parts we might normally discard (like the stems of certain greens).
- Reducing Dependency on Refrigeration: By converting perishable vegetables into fermented foods, we decrease the need for refrigeration, which is beneficial in situations where fridge space is limited or in reducing energy consumption.
- Creating Value-Added Products: Fermentation not only preserves but also enhances the nutritional value and flavor of vegetables. This transformation can turn less desirable or surplus vegetables into sought-after, gourmet-like food items.
In essence, fermentation is a resourceful and sustainable approach to managing food resources, turning what might be waste into nutritious and delicious food.
FAQs
Fermentation time varies depending on the vegetable and ambient temperature, but typically, it ranges from a few days to a couple of weeks.
Signs of successful fermentation include the presence of bubbles, a sour smell, and a change in the texture and color of the vegetables.
The ideal temperature for vegetable fermentation is around 60-70°F (15-21°C), as too high or too low temperatures can inhibit the process or encourage unwanted bacteria.
It’s best to use non-iodized salt, such as sea salt or kosher salt, as iodine can inhibit fermentation and anti-caking agents can cloud the brine.
Most vegetables can be fermented, with popular choices including cabbage (for sauerkraut), cucumbers (for pickles), carrots, and radishes.
Store fermented vegetables in the refrigerator in an airtight container or mason jar to slow down fermentation and preserve them for longer.
Mold is not a normal part of vegetable fermentation; if you see mold, it’s best to discard the batch to avoid health risks.
A general guideline is to use about 2-3% salt by weight of the vegetables being fermented.
Yes, vegetables can naturally ferment with the lactic acid bacteria present on their surface, so a starter culture is not necessary.
Soft or mushy vegetables can result from over-fermentation, too high fermentation temperature, or not using enough salt.
Expanding Beyond Sauerkraut
After mastering sauerkraut, you can experiment with a variety of vegetables and flavors. The world of fermentation offers endless possibilities, from green beans to carrots, each bringing unique tastes and health benefits.


A Fermented Farewell
In conclusion, diving into the world of fermented products opens up a realm of culinary and health benefits. By fermenting your own vegetables, you not only tap into the good things that come from a nutrient-rich diet but also join a tradition of preservation that spans centuries. While there are different methods to explore, starting with sauerkraut fermentation is perhaps the easiest way to begin your journey. Whether you’re an experienced fermenter or just getting started, the satisfaction of creating delicious, probiotic-rich foods in your own kitchen is unmatched.
Embrace the adventure that fermentation offers and discover the diverse flavors and health benefits that await in each jar of homemade goodness. The journey of fermenting vegetables is not just about the delicious end product; it’s about embracing a healthier lifestyle and nurturing your gut health. With each glass jar or mason jar, you’re preserving nature’s bounty and contributing to a sustainable way of living. Here’s to your health and the exciting journey of fermentation ahead!

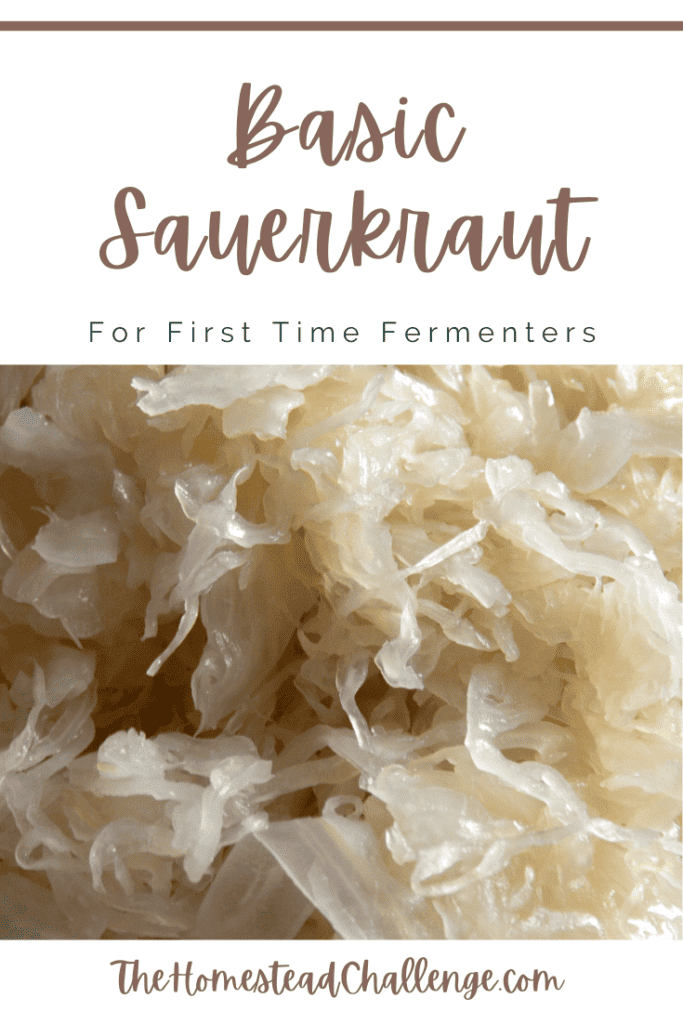
Basic Sauerkraut
Ingredients
- 1 head of cabbage
- 1.5 TBSP salt
- Large jar or two 32oz mason jars
- Fabric or silicone fermenting lid for jar topper
- Fermenting weight or baggie filled with water
Instructions
- 1. Wash and thinly shred cabbage and put in large bowl. Save a piece of the outer layer.
- 2. Add a little bit of salt and knead into cabbage.
- 3. Taste as you go, adding more salt. Cabbage should get watery and limp.
- 4. Let stand in bowl for 45 minutes.
- 5. again and press into jar with 2-3 inches of space at the top.
- 6. Top with intact piece of cabbage (from outer layer), covering the kraut. Weigh down with weight to keep the kraut under the brine (watery stuff).
- 7. Leave it for at least 10 days to ferment and enjoy! (1 month is better!).
Notes
Pin it for Later!


About the Author
Brittany Gibson is a modern suburban homesteader and the founder of The Homestead Challenge. She empowers women to adopt a simpler, more self-sufficient lifestyle, feeling confident to grow, create, and thrive on their own terms with joy and balance.
Read more about my transformation and join me in building our lives from scratch.
2 Comments