
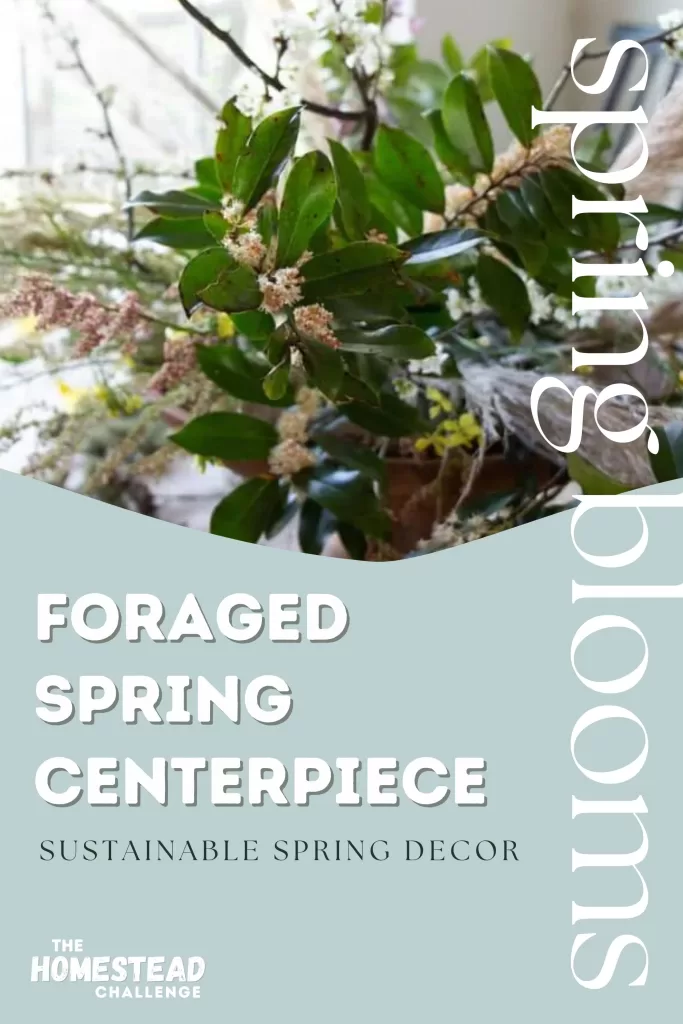
Foraged Spring Centerpiece
Making a foraged spring centerpiece with spring flowers is a fun and sustainable activity that allows you to connect with nature and bring some natural beauty of the season into your spring décor. Here is a step-by-step guide to making a foraged centerpiece with early spring blooms, foraged from my neighborhood in southeast Alabama.
Let me start by saying, this creation is a completely impractical centerpiece for an everyday arrangement on your dining room table. This would be best for a table not in use, or for a spring wedding or Easter table! However, even if you plan to make small foraged floral arrangements, the same floral principles still apply. I hope this gives you some inspiration and some cheery spring vibes!
Skip the grocery store flowers and make a beautiful centerpiece using fresh spring flowers from your own backyard!
Foraging Your Spring Flowers
Foraging for spring flowers can be a wonderful way to connect with nature and bring some beautiful blooms into your home. However, it’s important to do so responsibly and with respect for the environment.

Grab your Free Routine
The 15 Minute Homestead Routine (for busy days).
Want a simple morning rhythm that keeps your home running, your garden growing, and your goals on track? Grab my free 15-Minute Morning Routine Worksheets—designed to help you build homestead habits that stick.
As an Amazon Associate I earn from qualifying purchases. Please visit my privacy + disclosure page for more details.
Materials for your foraging excursion:
- Pruners or scissors
- A basket or bag
- A field guide or knowledge of the flowers in your area
Step 1: Choose a Location
Choose a location where you’re allowed to forage and where the flowers are in season. Make sure you’re not foraging on private property without permission. You don’t have to go deep into the woods to find spring flowers! My favorite spot to look is actually just on the edge of the forest where the sun peeps through. I even found a lot of these right on the side of the road!
Step 2: Identify the Flowers
Before you start cutting, make sure you know what you’re looking for. Bring a field guide or do some research to identify the spring flowers in your area. Look for flowers that are in bloom and healthy.
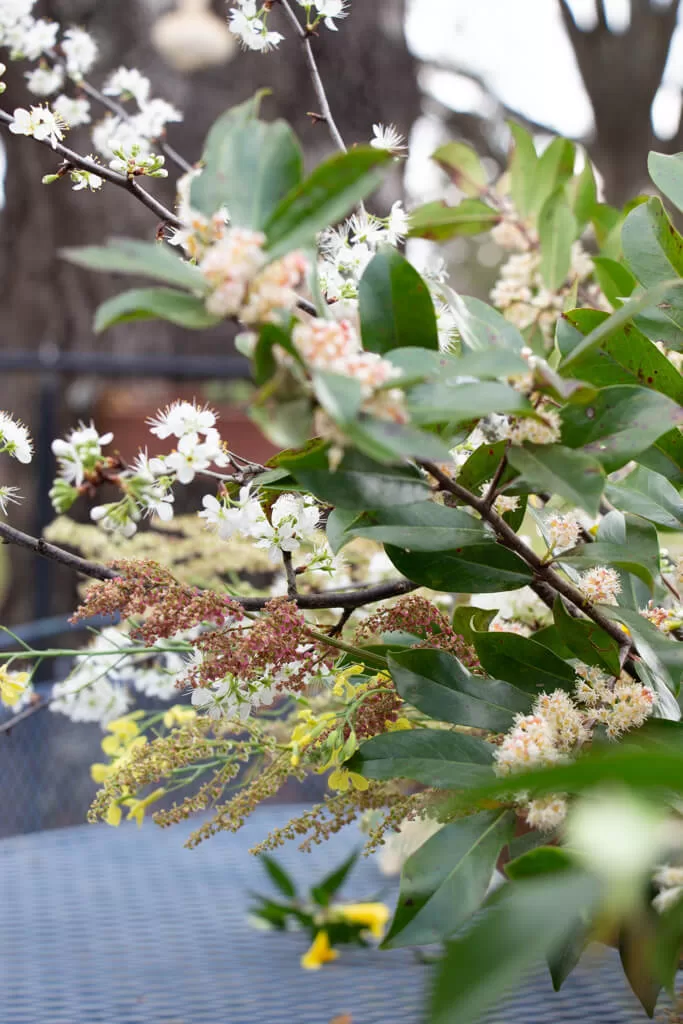
Don’t just look for big blooms. Make sure you also look for those great filler flowers that will add depth and fullness to the final product.
Here are just a few of the things I found around my neighborhood:
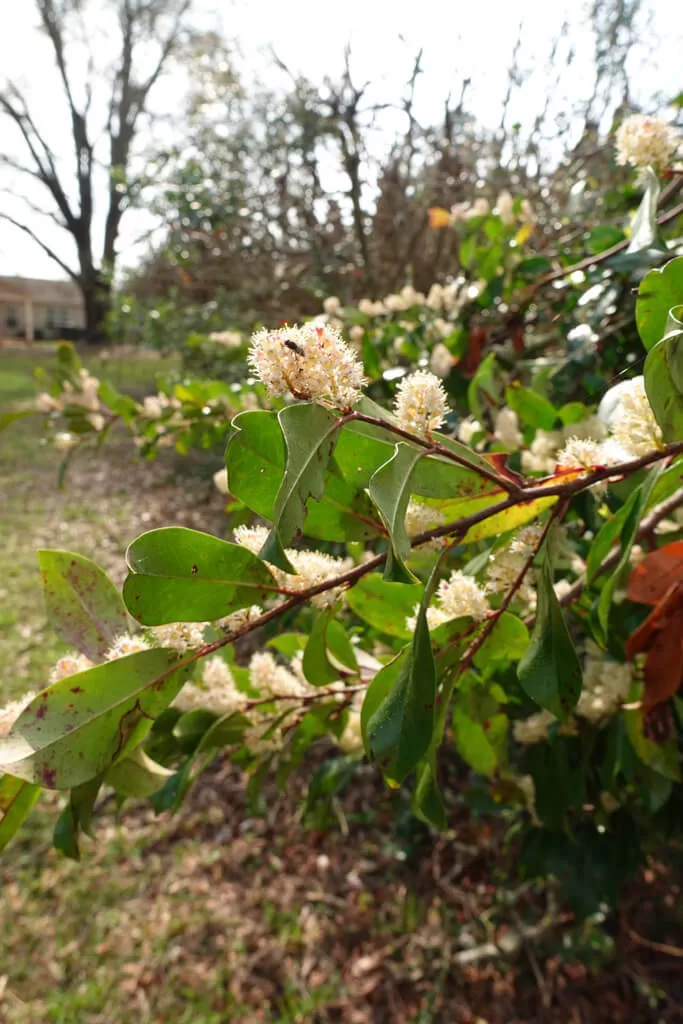


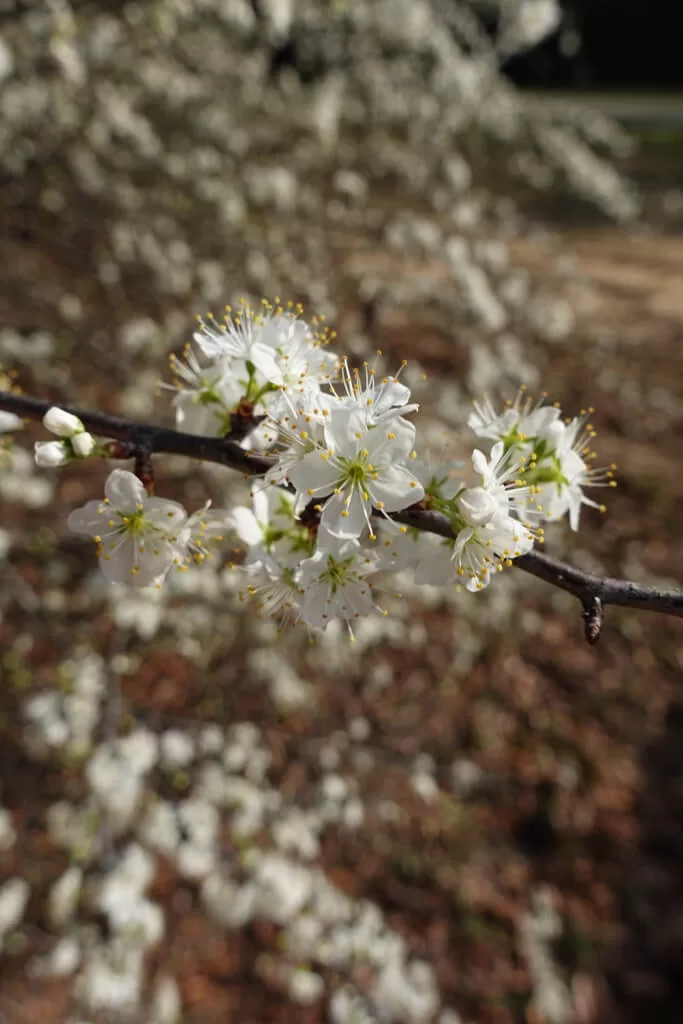
Other foraged spring blooms might include violets, dandelions, narrow-leaf sorrel, juniper berries, or anything you find inspiring or native to your area!
When Foraging…
It’s important to be mindful of the environment. Don’t take more than you need, and don’t take flowers from protected areas or areas where they’re scarce. Avoid trampling on other plants and be aware of any wildlife in the area. Don’t take from private property. Take only what you need and leave the rest for the bees!
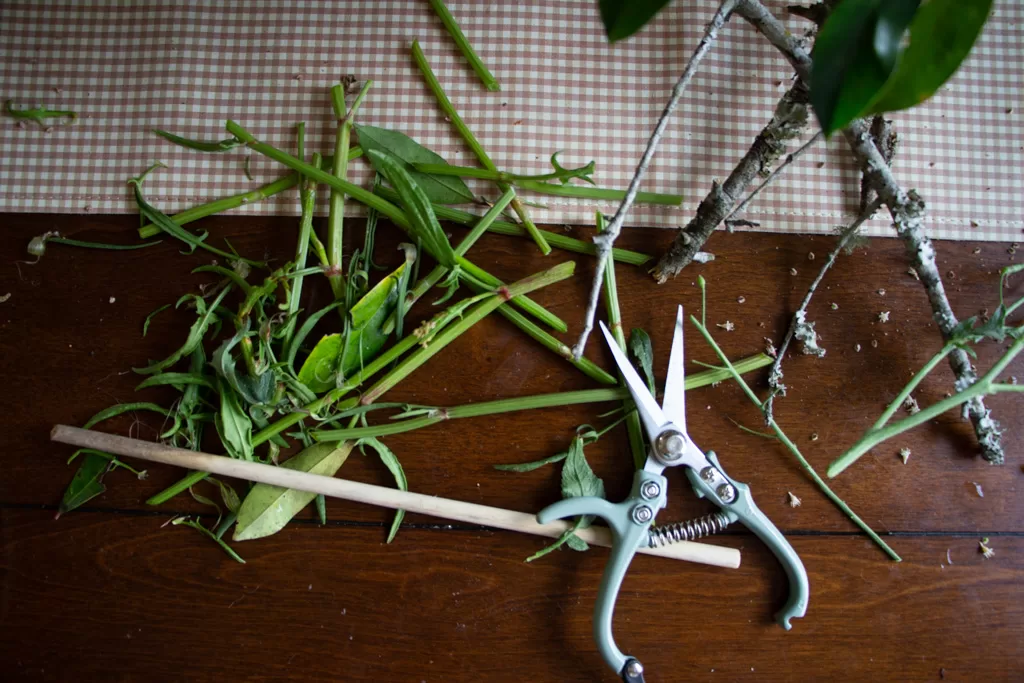
Step 3: Cut Your Flowers
Bring pruners or scissors to cut the flowers, and a basket or bag to collect them. If you plan to grab a lot, a 5 gallon bucket with water could come in handy!
When cutting the flowers, try to leave enough stem so that they can be arranged in a vase later. Cut the stem at a 45-degree angle to help the flowers absorb water. Make sure your tools are clean and sharp to avoid damaging the flowers.
Give your flowers a good shake to make sure you don’t bring any unwanted creatures inside.
Step 4: Rinse and Prune Flowers
Once you’ve collected your flowers, bring them home and give them a quick rinse. Remove any leaves or thorns that will be below the waterline. Now you are all set to start making your arrangement!
Making Your Foraged Spring Centerpiece
Supplies for Creating Foraged Centerpiece:
- Pruners
- Vase or Dish
- Floral foam block or tape to create grid
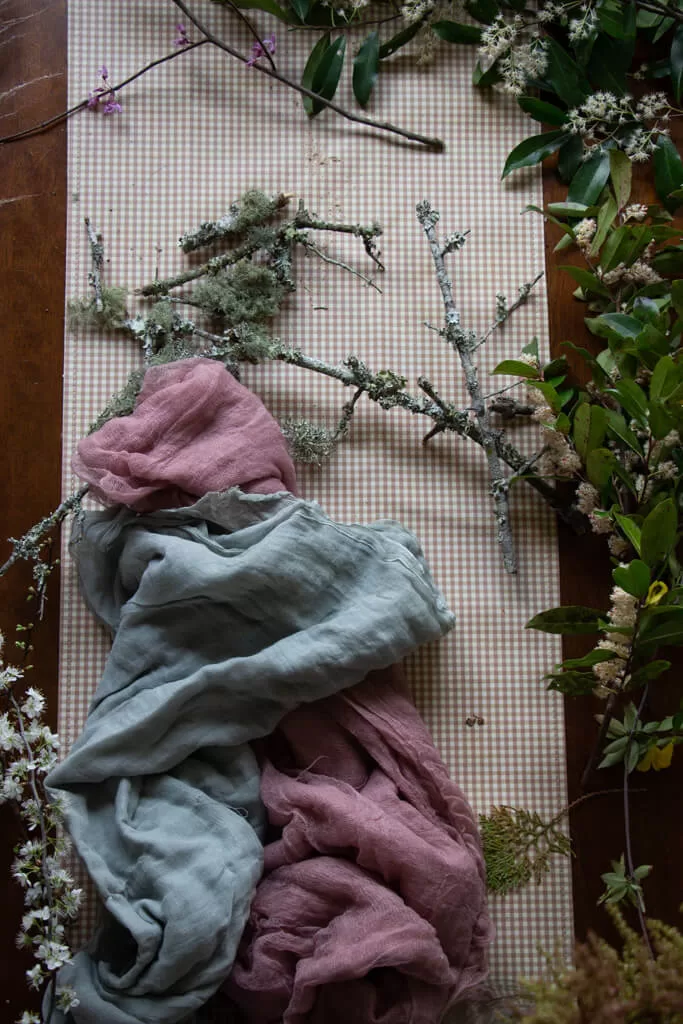
Optional: Table runner (I love my dusty rose gauze runner from Amazon!)
“Thrillers, Spillers, and Fillers” Floral Method
Using a mixture of “thrillers, spillers, and fillers” will lead to a visually interesting and well-balanced arrangement.
Here’s what each term means:
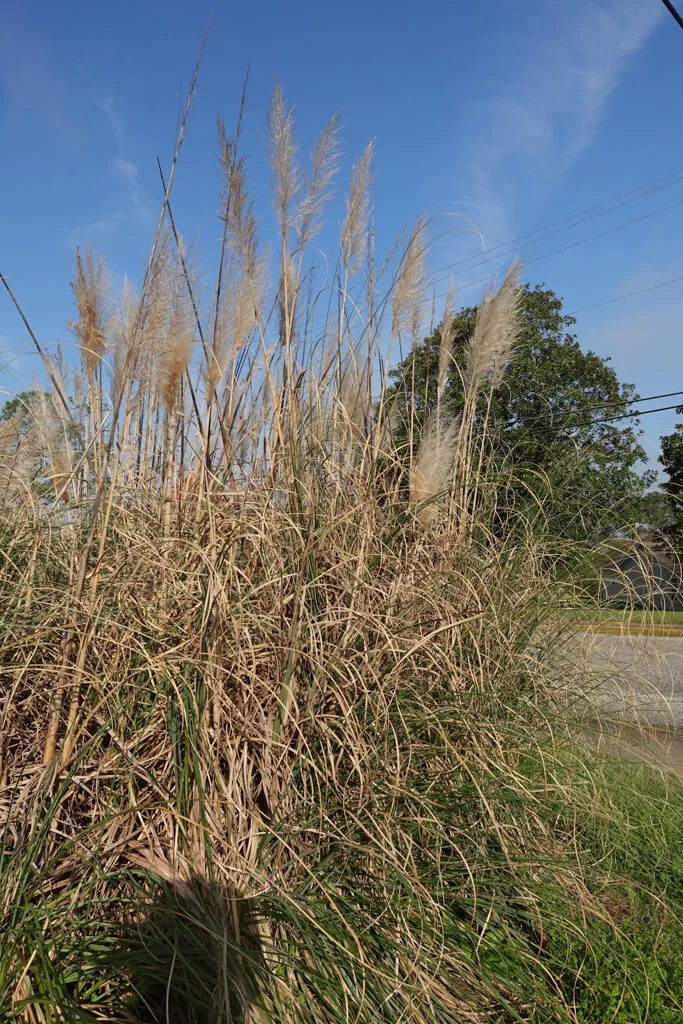
- Thrillers: Thrillers are the tall, eye-catching plants that form the centerpiece of the arrangement. They are usually placed in the middle or back of the container, and their height and structure help to create a sense of drama and interest. Examples of thrillers might include large blooms, ornamental grasses, tall flowering plants, or even sculptural elements like tall branches or sticks.
- Spillers: Spillers are trailing or cascading plants that spill over the sides of the container, softening the edges and adding a sense of flow and movement to the arrangement. They can be placed around the base of the thriller plant, or at the edges of the container.
- Fillers: Fillers are the plants that fill in the space between the thriller and spiller plants. They are often shorter and more compact and help to create a full, lush look for the arrangement.
I prefer to add my flowers from spillers, to fillers, to thrillers. Some people prefer to work in the opposite order.
This is certainly not the only way to design for foraged spring centerpiece! Floral arrangements are an art form, so take inspiration here and make your own however you like! The best part about this project is that there is no one right way to do it! I thought that using only what grew naturally in my area was a fun challenge. Also, this was a good way to create a floral centerpiece on a budget.
Step 1: Choose Your Container
Choose a container that fits the size and style you’re looking for. If you’re using floral foam, make sure it fits snugly inside the container.


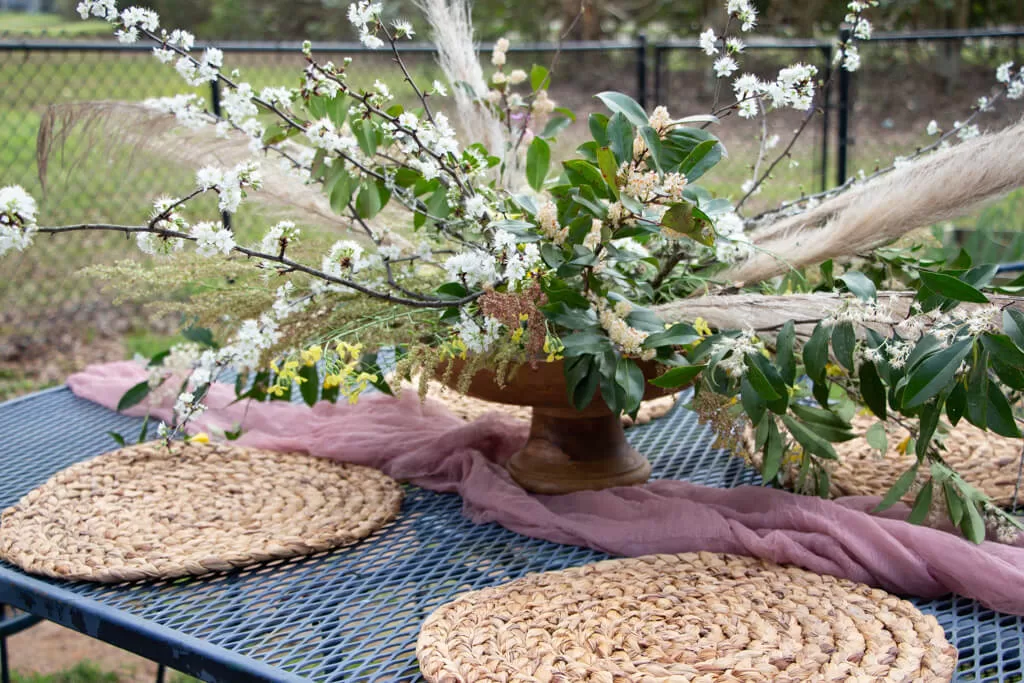
For this arrangement, I knew I wanted to go BIG! I choose to use a plain kitchen pasta bowl that I owned and put it inside of a wood fruit basket.
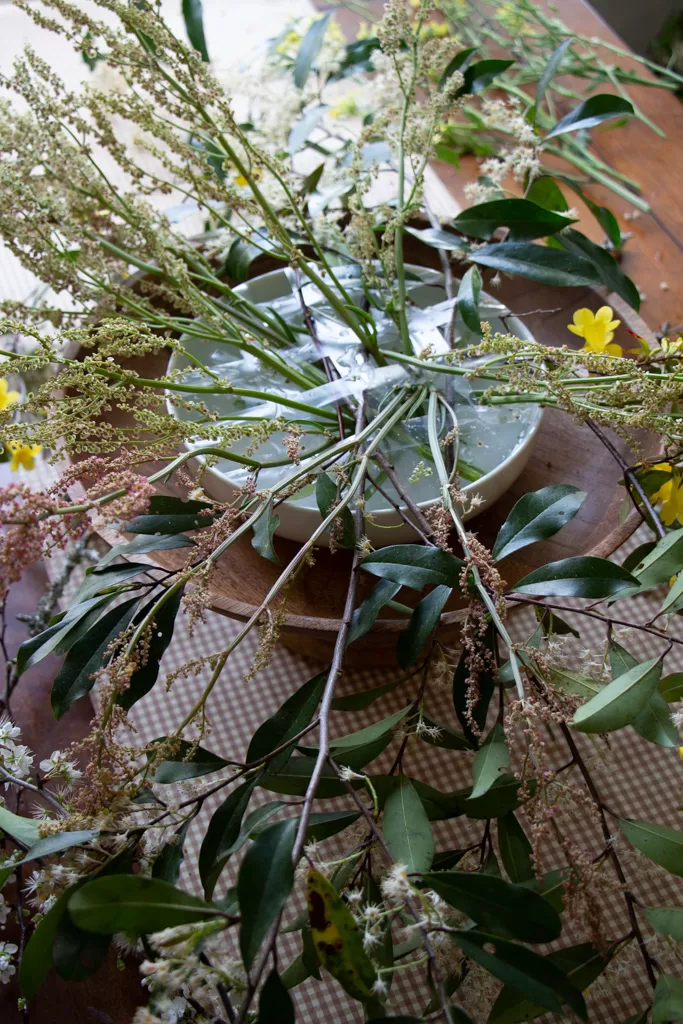
If using a wide bowl or dish, you will want to create a grid with tape to hold the flowers in place. I much prefer this method over using floral foam, which can have icky dies and is actually made of microplastics that break down and get into our waterways.
For a smaller arrangement, any regular glass vase or mason jar will do!
Step 2: Prepare Your Materials
Grab all of your flowers that you foraged. Be prepared to make a little bit of a mess (a beautiful mess!).
Step 3: Include Your “Spillers”
Spillers are flowers or foliage that drape over the sides of the container. These can add a lot of visual interest to your arrangement. Cut them to the desired length and tuck them into the sides of the container.

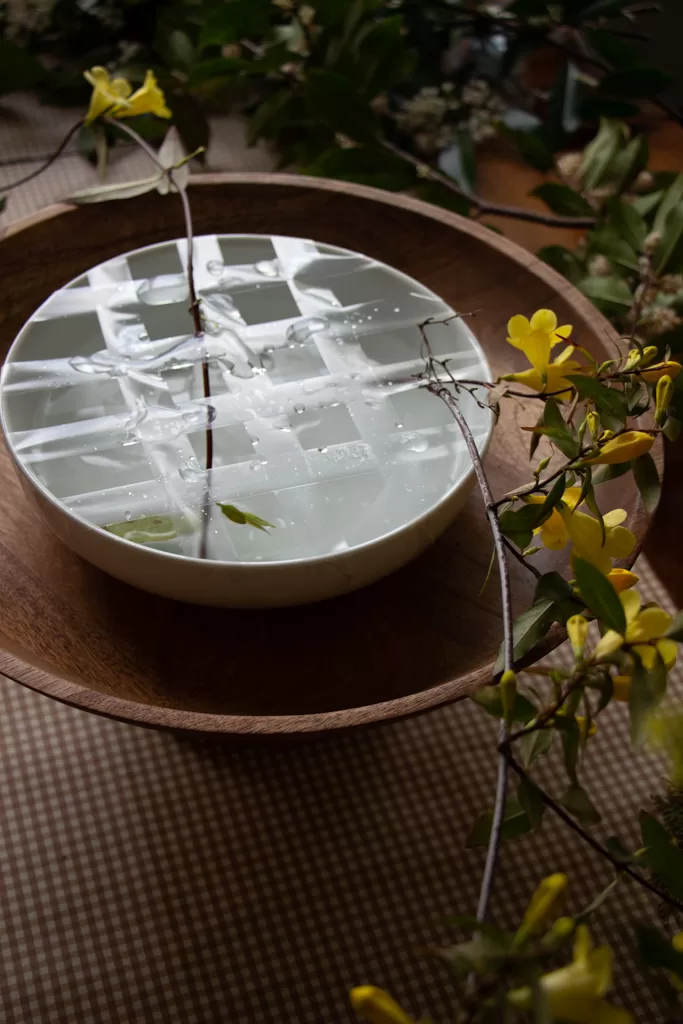
I wanted to start with the spillers for this arrangement because they were so huge! The yellow vines drape across the entire table.
I am not a floral design expert, so I don’t have a fancy technique here. I just keep adding and adding until the gaps are filled!
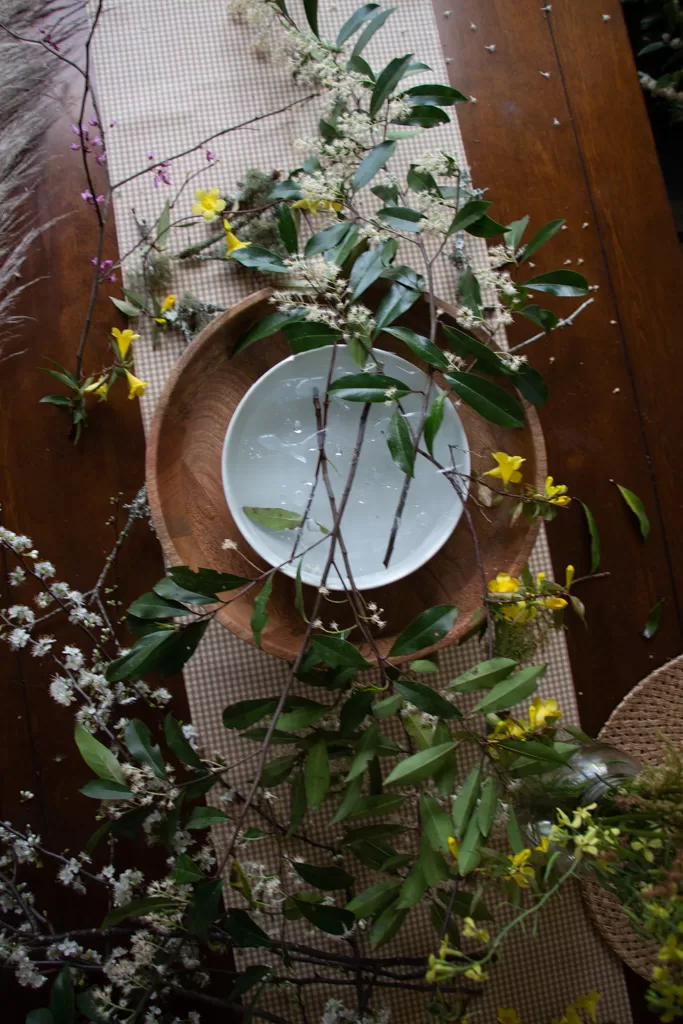
Step 4: Add Your “Fillers”
Now it’s time to add your “fillers,” which are smaller flowers and foliage that will fill in the gaps. Cut them to the desired height and place them as you go. You can always add more of these after the next step until your arrangement reaches the desired fullness. Try to distribute them evenly throughout the arrangement.


Okay, so you might be thinking this just looks like a bunch of weeds. Well first of all, it is. Second, just be patient!
Step 5: Build Your “Thrillers”
Choose one or two standout flowers or branches to be the “thrillers” of your centerpiece. These should be larger and taller than the other flowers and foliage. Cut them to the desired height and place them in the center of your container.
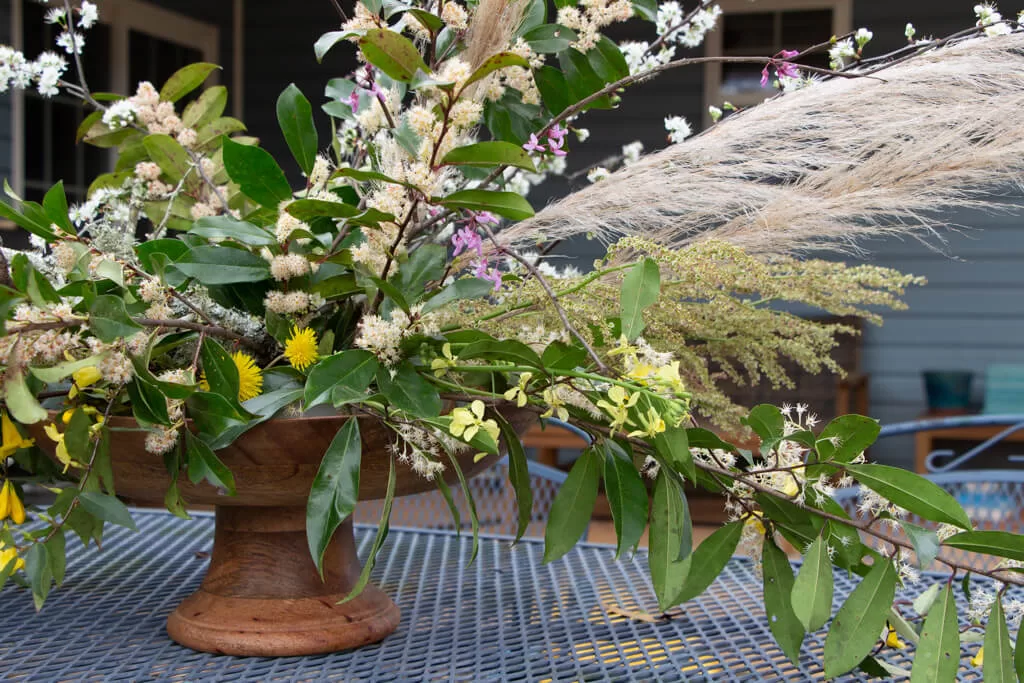
In the spring, it can be hard to find thriller flowers. These would usually be bright or large in size with big petals. Tulips or daffodils would be a great spring example, but I did not have any. However, I did what I could to still make this piece thrilling!
Options for Spring Thrillers:
- Tulips
- Dandelions
- Daffodils
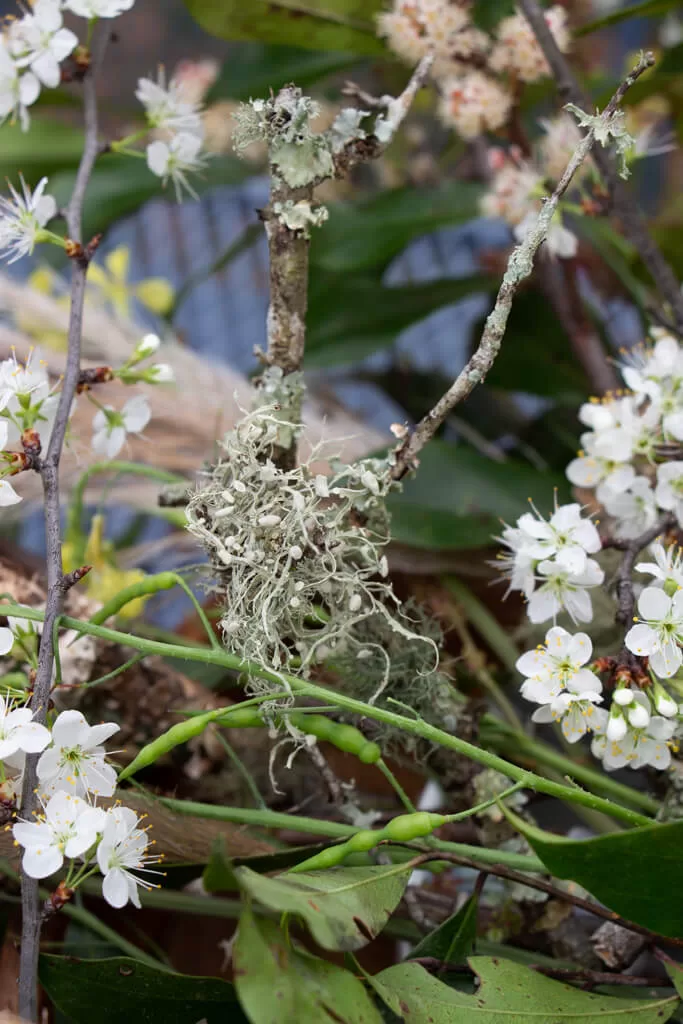
- Moss
- Usnea

Step 6: Adjust and Tweak
Once you have all your flowers and foliage arranged, step back and take a look at your centerpiece from different angles. If there are any areas that need more or less foliage, adjust as necessary. Finally, you can add any finishing touches, such as a ribbon around the container or other spring décor.

A few of my branches had slightly diseased or bug-eaten leaves, but I didn’t mind. I figured it made the final product more wild!
And there you have it – a beautiful foraged centerpiece using spring flowers and foliage. Enjoy your creation!
Optional Additions for your Foraged Spring Centerpiece
- pine cones or other natural elements like moss
- wooden easter eggs
- citrus fruits
- peaches
- votive or taper candles
Foraged Spring Centerpiece FAQs
I hope you get some inspiration to bring the beauty of the season into your home! If you make something, don’t forget to take me on Instagram so I can see it!
Pin It or Later!

About the Author
Brittany Gibson is a modern suburban homesteader and the founder of The Homestead Challenge. She empowers women to adopt a simpler, more self-sufficient lifestyle, feeling confident to grow, create, and thrive on their own terms with joy and balance.
Read more about my transformation and join me in building our lives from scratch.