
Free DIY Raised Garden Bed Plan for Beginners
Here you will learn how to make a raised garden bed As an Amazon Associate, I earn from qualifying purchases. Please visit my privacy policy page for more details.

Building a raised garden bed As an Amazon Associate, I earn from qualifying purchases. Please visit my privacy policy page for more details.
Raised garden beds allow you to create a custom soil mix that will give your plants the best chance for success. The bed is also elevated, making it easier to access for planting, weeding, and harvesting.
Growing your own food is a great way to have fresh, healthy produce at your fingertips, and a raised garden bed As an Amazon Associate, I earn from qualifying purchases. Please visit my privacy policy page for more details.

Grab your Free Routine
The 15 Minute Homestead Routine (for busy days).
Want a simple morning rhythm that keeps your home running, your garden growing, and your goals on track? Grab my free 15-Minute Morning Routine Worksheets—designed to help you build homestead habits that stick.
In this article, you will find a step-by-step guide on how to build an 8’X4′ raised garden bed, including a free printable plan. Not only is this a great way to grow your own food, but it’s also a great addition to your backyard garden.
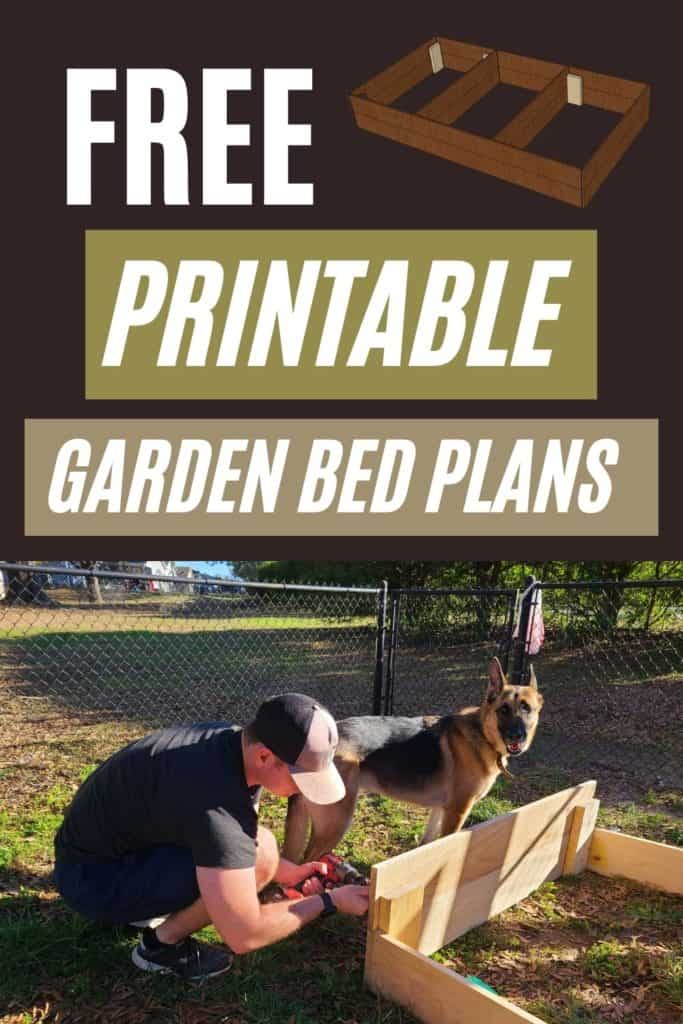
Download the FREE DIY Raised Bed Plans
Download these FREE DIY garden plans below with step by step instructions! The plans include a material list, cut list, and step-by-step assembly instructions.
Watch Us Make Our DIY Raised Garden Bed!
Preparing to Make the Raised Bed
Choosing the Location of the Raised Bed
When building a raised garden bed, it’s important to consider the best place to put it. Make sure you choose a location that has enough space for your plants to grow and get full sun. You also need to have access to a water source, so consider the proximity of a hose or water reservoir when choosing a spot.
Choosing the Right Wood and Stain
Cedar is an excellent option for garden beds, as it is naturally rot-resistant and water-resistant. Therefore, a cedar bed should last you many more years than using pine or something similar.
If cedar is not in your budget, try finding free pine scrap wood or pallet wood somewhere! It can be easier than you think. A friend of mine is getting hers from a scrap pile at a local construction site! Not only is this cheaper, using reclaimed wood is far better for the environment.
Beware. The only downside to free wood is that you don’t know how it has been treated. A lot of wood is chemically treated, and you don’t want that leaking into your soil if you are trying to grow organically. Honestly though, it is probably not a huge deal at the end of the day, as there will only be trace amounts.
We opted not to finish our bed at all to steer away from all chemicals and to maximize the natural properties of the cedar. They do make plant based stains that you can use for aesthetics if you choose. I would not polyurethane over cedar as it will no longer have its natural properties. You might want to finish and protect a pine bed.
Go ahead and download your printable plans first to get started!
Building The Raised Garden Bed
Materials Needed:
- 6 Cedar 1”x8”x8ft boards (actual size: 0.75”x7.25”x8’): Endcaps, side boards and dividers
- 1 Pine 2”x6”x10ft board (actual size: 1.5”x5.5”x10’): Support pieces for the bed
- 1 container (minimum of 100 pcs) – 1.75” wood screws
- 1 bottle – Wood glue (Titebond II or equivalent)
Cut List:

Steps to Building an 8’X4′ Raised Garden Bed

Step 1 – Assemble the bottom layer of bed
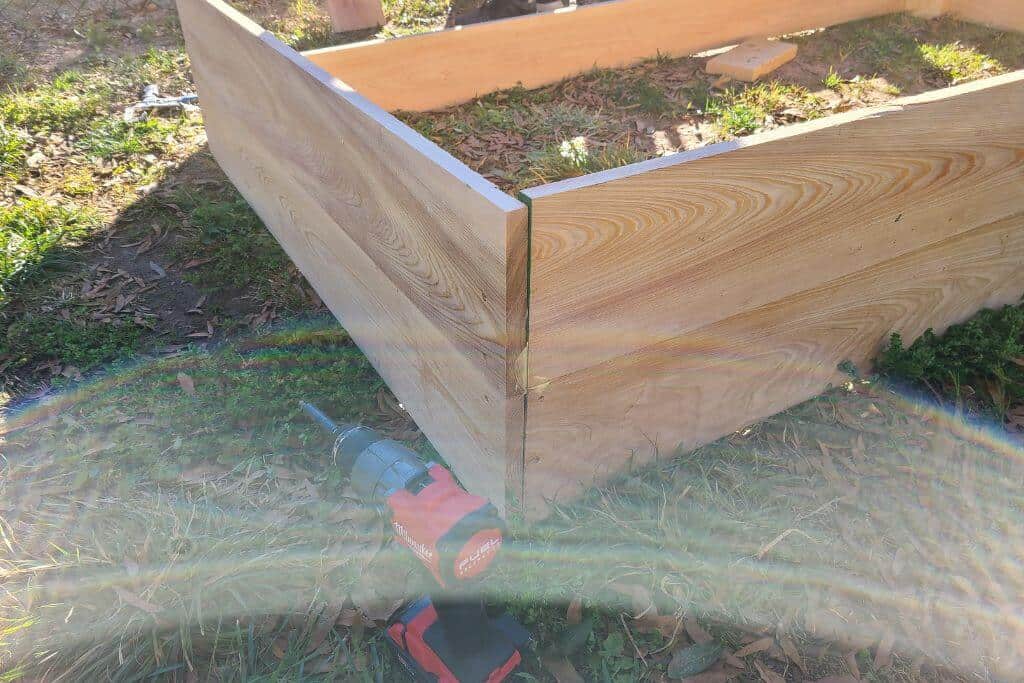
- Start by connecting the sides to the endcaps using screws, as shown in the diagram (side boards are on the inside of the endcaps).
- Using wood glue and 3 screws, connect each cedar board to the 12” support piece. After inserting first screw, check to ensure your endcap and sides boards still form a 90 degree angle before inserting the remaining screws.
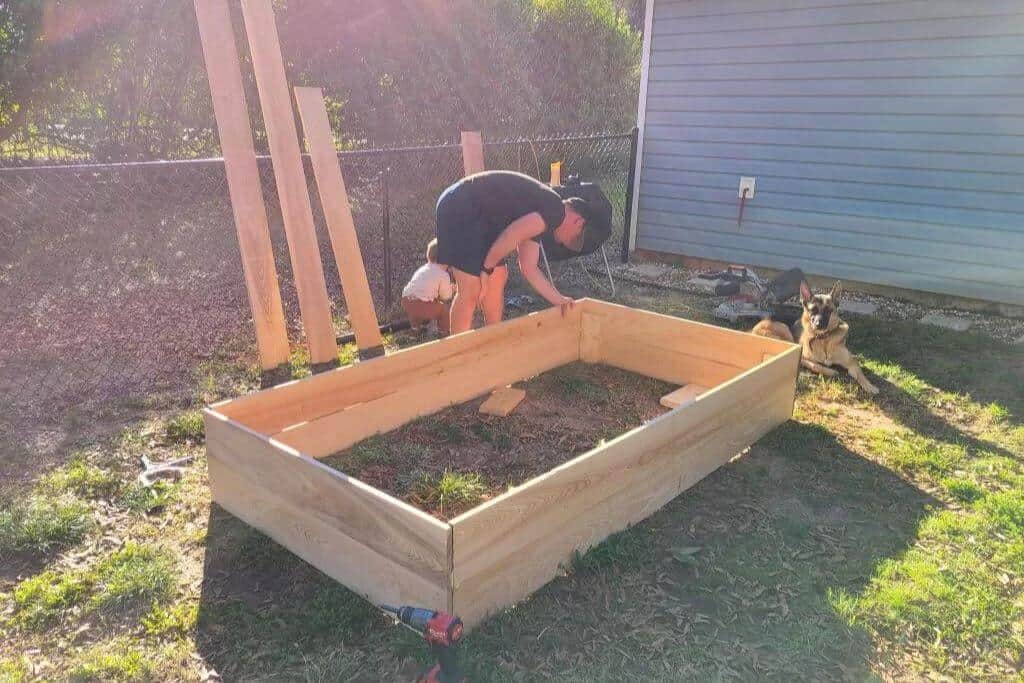
Step 2 – Add the second layer of boards to the outside of the bed
- Attach the second layer the same as the first, using wood glue and 2 screws (instead of 3).
Step 3 – Attach the 12” support pieces to the side boards
- Starting on one endcap, use a tape measure to measure 30.75” from the endcap and mark a line on both the bottom and top side boards.
- Placing your support piece on the side of the line closest to the endcap, attach the support piece to both the top and bottom side board using 8 screws.
- Repeat the process for the opposite side boards and then again for the opposite endcap.

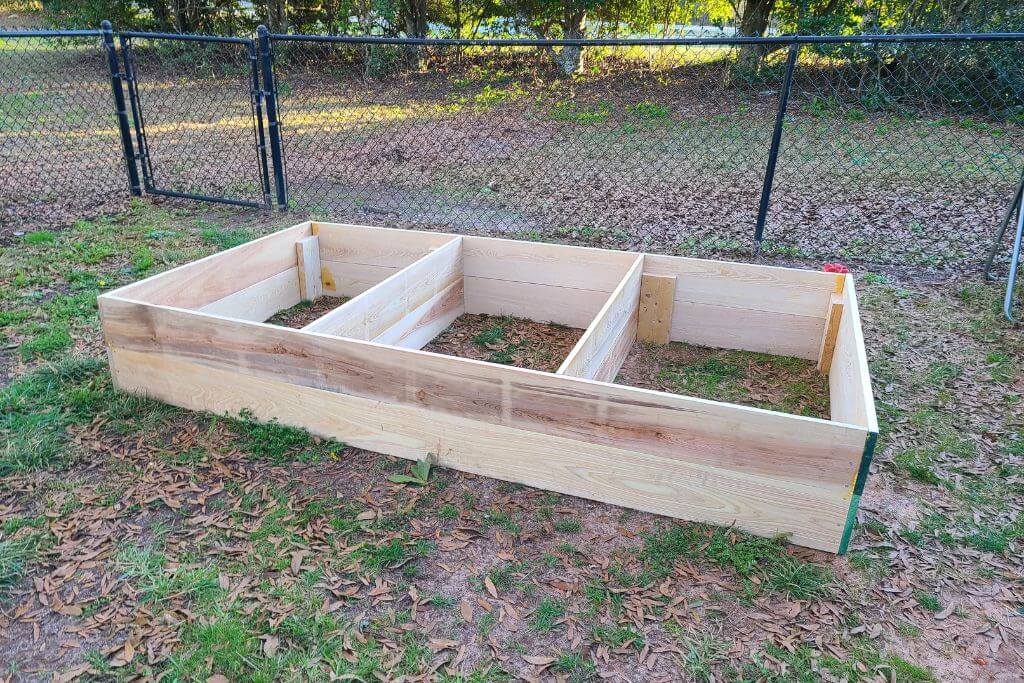
Step 4 – Attach the dividers to the support pieces
- Attach the bottom divider to the support piece on the side opposite the nearest endcap using wood glue and 1 screw in each corner. Repeat for top divider.
- Repeat process for the opposite divider.
Options for Lining a Raised Garden Bed
Once you build you bed, there are a few options for lining the bed before you fill it with dirt:
- Cardboard- cheap or free, might not last long
- Landscaping Fabric- good to hold the dirt in, can rip easily, should prevent weeds, expensive
- Burlap- cheaper, sturdier, might not prevent weeds as well
- Plastic- holds in moisture, good for dry climates
We are going to line our bed with leftover landscaping fabric from another project. If you would like to see us line, fill, and plant in the bed, let us know in a comment below!

Planting in Your Raised Garden Bed
Once your raised garden bed is complete, it’s time to add soil.
Typical Raised Garden Bed Fill Options:
- Garden Soil: The base “dirt”
- Compost: Nutrient rich material
- Peat Moss: A potting mix that helps with drainage
- Vermiculite: Kind of like little rocks, aerates the soil. Good to balance thick, heavy clay
- Manure: You know what it is. But it can help fertilize. Just be careful of the right source so you don’t accidentally add harmful bacterial to your soil
- Sand: A good addition when you need a lot of drainage
Growing vegetables in a raised bed garden is a great way to get higher yields and to have control over the soil quality. Root vegetables like carrots, beets, and potatoes do well in raised beds, and you can grow any kind of vegetable that you like. Keep in mind that raised beds can dry out more quickly than in-ground beds, so you’ll need to water your plants more often during the growing season.
Check out my complete guide for growing herbs in raised beds.
When planting your vegetables, make sure to give them enough space to grow and ensure easy access for watering and maintenance. A good idea is to place your raised garden bed in an area that receives full sun, especially during the growing season.
Why Use Wood for a Raised Bed?
Using concrete blocks or railroad ties is an option for the bottom of a raised garden bed, but using untreated wood is a better choice because it’s more environmentally friendly. Cedar is a rot-resistant wood that is a popular choice for raised garden beds because it’s naturally water-resistant and lasts a long time. If cedar is too expensive, you can also consider using pine or pallet wood that you can find at a local lumber yard or Home Depot. However, make sure to check the wood for chemical treatments before using it in your garden.
Why Choose A DIY Raised Garden Bed?
If you are a beginner homesteader like me, you may not have a ton of land. You might also be gardening for the first time this year! This is why I decided to make my very own DIY raised garden bed.
Benefits of Raised Garden Beds
- Choose your own soil
- Good drainage
- Easier on back (don’t have to bend down as far to garden)
- Less weeds
- It can look pretty!
These are just a few of the many benefits of a raised bed garden!
Raised garden beds are a great option for beginner gardeners or those with physical limitations. They are also a good choice if you have limited space in your backyard, as you can create a small garden or multiple elevated raised garden beds.
Overall, building a raised garden bed is a hard work, but it’s worth it in the end. You can grow your own food and save money on groceries, all while enjoying a new hobby. Whether you build a simple raised bed or a more elaborate one, the key is to get started and have fun. Follow this step-by-step guide and download the free raised garden bed plans to get started today!
Pin It For Later!
Looking to plan your entire garden? Check out my Free Garden Planner Printable so you can make your new raised bed into the garden of your dreams!
About the Author
Brittany Gibson is a modern suburban homesteader and the founder of The Homestead Challenge. She empowers women to adopt a simpler, more self-sufficient lifestyle, feeling confident to grow, create, and thrive on their own terms with joy and balance.
Read more about my transformation and join me in building our lives from scratch.
I love how you built dividers into these raised beds. We’ve been using raised beds for years, and your instructions look easy to follow. I can’t wait to see what you grow!
I’m very excited! We did the dividers since this is my lonely one and only bed! Hopefully I get a lot out of the little space!
Thank you for sharing how you made these! We will definitely check out your post when we go to build ours!
Hooray! Send me a photo if you make them!
Awesome! Gardening is such a great way to get in the homestead mindset. We have some 4×4 raised beds, that we’ve been gardening in. And this year we’re expanding the garden, but using cinder blocks to create our raised beds since lumber is so crazy that expensive right now! Thanks for sharing your garden inspirations. ☺️
Can’t wait to see the additions!!
This is great! We have our own raised beds and love them!!