
How Do You Know When Compost is Ready? Identifying Perfectly Cured Compost
How to tell when compost is ready.
Knowing when compost is ready is a bit like recognizing when a fruit is ripe: it’s all about the senses and understanding the natural process at work. Look for a few telltale signs to determine the maturity of my compost including visual cues, temperature tests, and assessing structure.
It’s this natural transformation, achieved by carefully balancing greens, browns, moisture, and air in compost, that results in a nutrient-rich amendment perfect for enhancing garden soil.
Understanding the Composting Process
Let’s dig into what it really takes to craft nutrient-rich compost.

Grab your Free Routine
The 15 Minute Homestead Routine (for busy days).
Want a simple morning rhythm that keeps your home running, your garden growing, and your goals on track? Grab my free 15-Minute Morning Routine Worksheets—designed to help you build homestead habits that stick.
Essentials of Composting
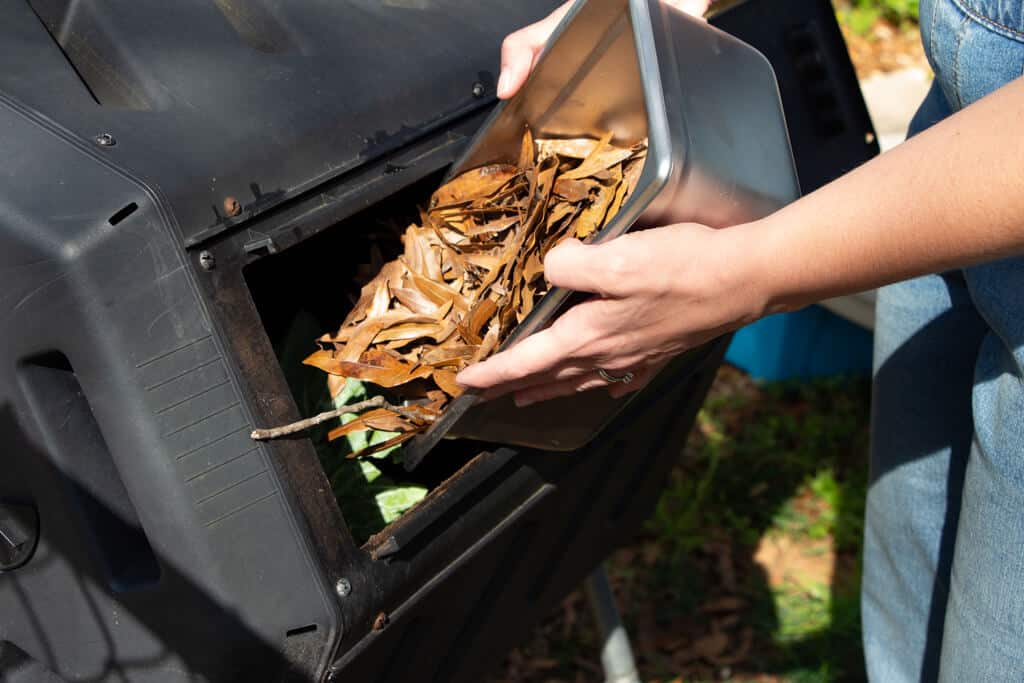
Composting is a natural process that transforms organic materials like leaves, kitchen scraps, and garden waste into a rich soil amendment. The essentials boil down to having the right combination of greens and browns, which are materials rich in nitrogen and carbon, respectively. It’s a balance that fuels the biological activity necessary for effective decomposition.
Make sure your compost has the right moisture level—it should feel like a wrung-out sponge. If the pile is too wet or too dry, the biological processes slow down. The temperature of the pile also matters; it should get hot as the microbes work, indicating active decomposition.

Regularly turning a pile with a compost aerator or fork keeps it well-aerated and speeds up the process. It is even easier if you use a compost tumbler!
Composting Methods
There are mainly two methods: cold composting and hot composting.
- Hot Composting
- Requires a careful balance of nitrogen ratio, moisture, and air.
- Use a hot compost pile or compost tumbler to maintain temperatures between 130°F to 160°F.
- Decomposes quicker and can be ready in as little as a few months.
- Cold Composting
- Involves less maintenance but takes longer—anywhere from a year to two (source: Fine Gardening).
- Simply add organic matter to a compost bin or heap as it becomes available and let nature do its work, albeit more slowly.
Whichever method you pick, keep in mind the importance of the particle size of materials. Smaller pieces decompose faster, so I sometimes chop or shred my organic matter before adding it to the mix. Plus, always ensuring a proper carbon to nitrogen ratio and the circulation of air and moisture makes all the difference in reaching compost maturity and knowing when my compost is ready to nourish the garden beds.
How to Determine Compost Readiness
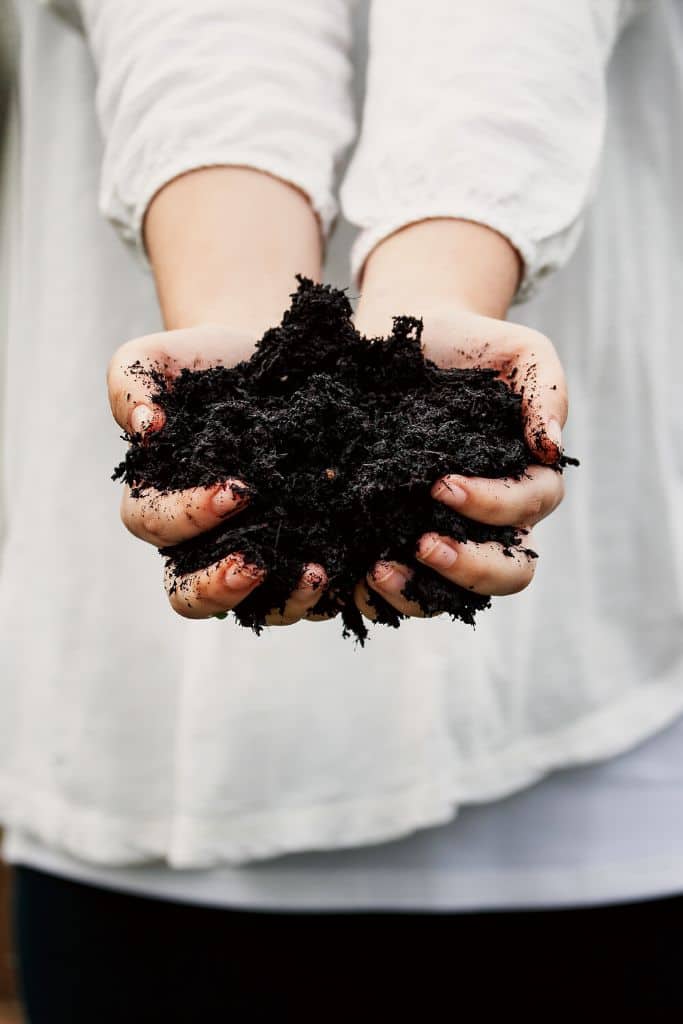
Deciding when my compost is ready is essential for gardening success. Look for finished compost to be dark brown with a crumbly texture, resembling rich soil. This indicates that the composting process has broken down the organic material effectively.
Visual Inspection
The first thing you can do is take a good look at the compost. Ready compost should be dark brown, have a crumbly texture, and be uniform in appearance without any recognizable food or yard waste. The material should look and feel like rich soil. If you spot any large pieces, you will know the compost needs more time to break down. The surface area of the compost should be much smaller than the original material added to the pile.

Smell and Temperature Tests
Next, perform a smell and temperature test. Good compost emits a pleasant, earthy smell. Any strong, unpleasant odors (like garbage) suggest that the composting process is not complete or that the pile is not properly balanced.
Using a compost thermometer, check the temperature of the pile. Ready compost will be close to the ambient outside temperature because the microorganisms have finished breaking down the material and are no longer producing heat.
Check the center of the pile, where the temperature indicates the compost’s activity level. When the center is cool, my compost is likely ready to spread over the soil surface.
Remember, patience is vital – it often takes several months for compost to fully mature depending on the size of the compost pile and the conditions of the compost system.
The U.S. Environmental Protection Agency (EPA) – Composting At Home recommends a temperature range between 90°F to 140°F for effective composting.
Compost Composition
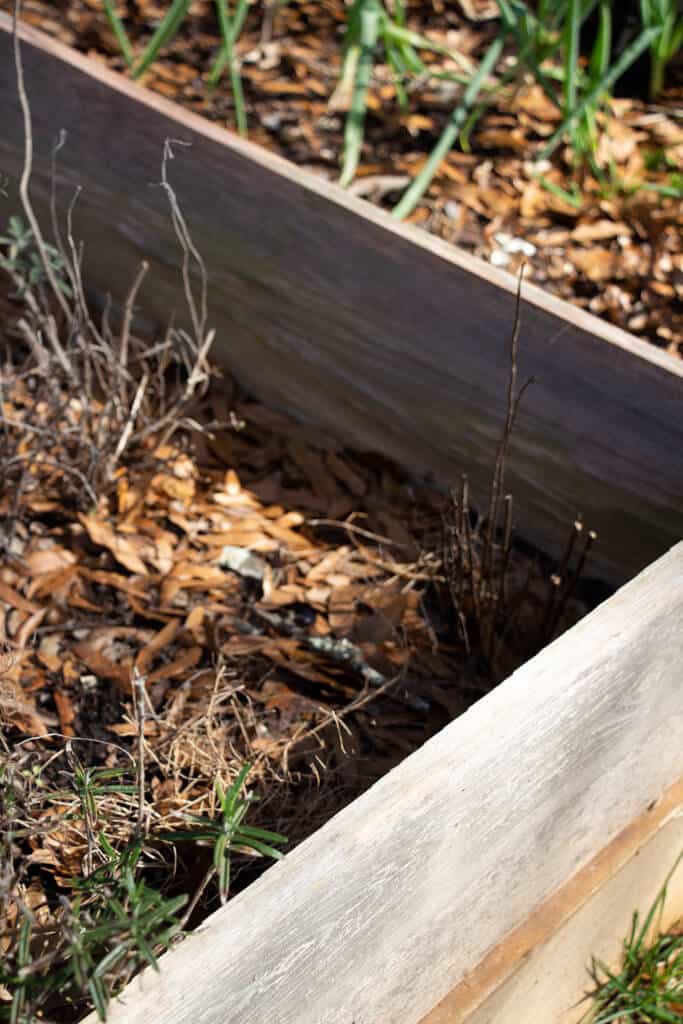
Lastly, assess the compost structure and composition. Mature compost should not have any large chunks of organic matter remaining. If it still looks like the kitchen waste I put in, or I can spot whole leaves and twigs, this tells me the compost needs more time. Patience is key here.
If you find that the materials have not fully decomposed, it indicates that the compost needs more time. On the other hand, when it possesses a uniform texture and the original materials have transformed into a stable, humus-like substance, the compost is likely ready to use.

Common Issues and Solutions
Sometimes compost doesn’t quite reach that crumbly, earthy-smelling, dark, finished state when we expect it to. Let’s explore how to handle compost that’s not ready for the garden yet.
Dealing with Unfinished Compost
- If the compost looks soggy or smells, it may have too much water. Add more brown materials, like leaves or straw, to absorb the excess moisture. This is often the case when composting in the winter months.
- Should the compost be too dry, sprinkle water over it, making sure it’s moist but not wet, much like a wrung-out sponge.
- For compost that’s clumpy or heavy, often due to heavy clay soils in the mix, break up the clumps and turn the pile to introduce more air.
Source: Master Composter – University of Illinois Extension
Note: I am not very patient and often wing it! If you are at the end of a garden season and want to cover your beds with the unfinished compost, do it! Don’t worry so much. Okay, maybe follow the data in this article. I’m just saying… I am not a perfectionist here.
Turning the compost pile every few weeks speeds up decomposition, but it’s essential to avoid adding dairy products or meat leftovers, as they can attract pests and create a foul odor.
Make sure to keep an eye out for weed seeds or diseased plants, and remove meticulously to prevent these issues from spreading to your garden when the compost is spread on top of the soil.
In an ideal world, compost should transform all the material into nutrient-rich humus, but we sometimes encounter unfinished or immature compost. In such cases, put the material back into your compost bin, giving it more time to break down properly. It’s beneficial to remember, even unfinished compost can be useful when spread over the soil well before planting, as it continues to decompose and enrich the soil structure.
Pin it for Later!

About the Author
Brittany Gibson is a modern suburban homesteader and the founder of The Homestead Challenge. She empowers women to adopt a simpler, more self-sufficient lifestyle, feeling confident to grow, create, and thrive on their own terms with joy and balance.
Read more about my transformation and join me in building our lives from scratch.