
Growing Herbs in Raised Beds: A Simple Guide for Gardeners
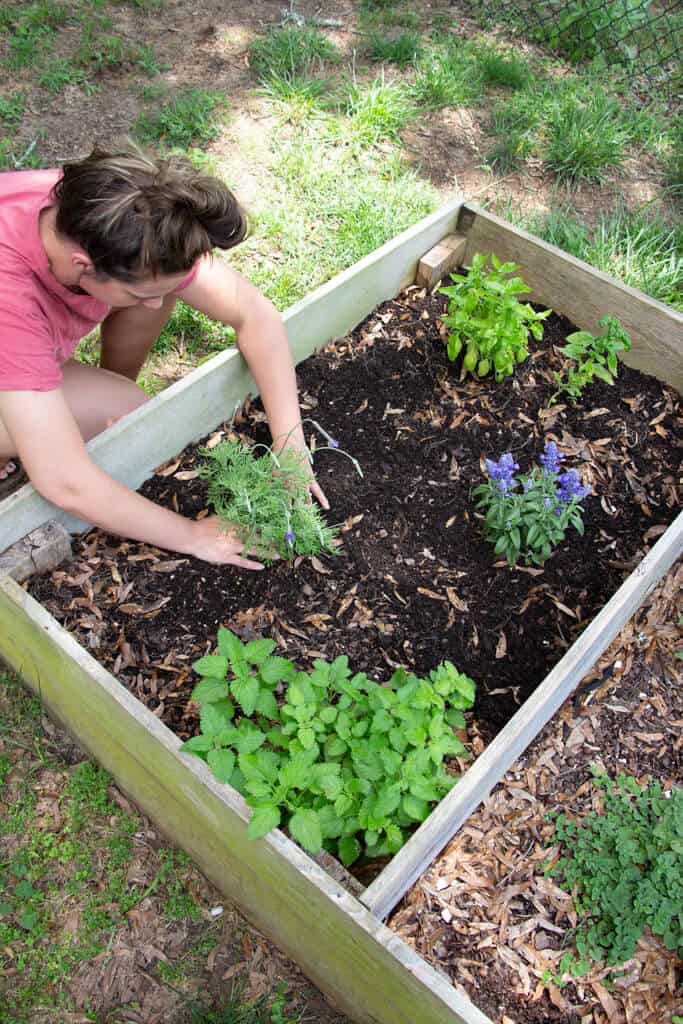
Growing herbs in raised beds is one of my favorite ways to make the most of a small garden. After growing herbs in raised beds for several years, I’ve found that they’re some of the most forgiving and useful plants I grow—and you don’t need a huge garden to grow enough for cooking, teas, homemade remedies, and preserving for later.
Raised beds make it easier to control your soil, drainage, and growing conditions while keeping herbs close at hand for harvesting. In this guide, I’ll walk you through what I’ve learned about choosing a raised bed, filling it with the right soil, deciding which herbs to grow together, and caring for your herb garden throughout the season.
As an Amazon Associate, I earn from qualifying purchases. Please visit my privacy + disclosure page for more details.
Why Grow Herbs in Raised Beds?
Herbs don’t necessarily need a raised bed, but raised beds can make growing them much easier—especially if you’re dealing with poor native soil, limited space, or want more control over drainage.
That’s one of the reasons I’ve continued using raised beds in my own small-space garden. I can create the soil conditions I want, keep harvesting simple, and grow quite a few herbs in a relatively small footprint. They’re also easier to tend than an in-ground garden, and I love mixing culinary and medicinal herbs with flowers like calendula and chamomile.
Some of the biggest benefits of growing herbs in raised beds are:
- An easy way to group herbs with similar growing needs
- Better control over soil quality
- Good drainage for herbs that dislike soggy roots
- Easier harvesting and maintenance
- More growing space in a small yard
- Less competition from surrounding weeds
Selecting and Preparing the Raised Bed
Size and Location
Your raised bed doesn’t need to be huge to grow herbs successfully. A 4×8-foot bed gives you plenty of room for a mixed herb garden, but a smaller bed can work just as well if you’re short on space. Most of my raised beds are only 2’X4′! More important than the overall size is making sure you can comfortably reach the plants without stepping into the bed. For beds you can access from both sides, around 4 feet wide is usually manageable; if you can only reach the bed from one side, consider making it narrower.
Small-space tip: If you aren’t sure a raised bed is right for your space, I also grow herbs and vegetables in containers and vertical planters. Here’s how I decide between containers, raised beds, and in-ground gardening.
Most culinary herbs grow well with around 6–8 hours of direct sun, although some herbs can tolerate partial shade. Before deciding where to put your bed, watch how the sunlight moves across your yard throughout the day.
As for the height of the raised bed, a minimum of 10-12 inches works well. It gives enough room for quality soil and proper root development.

Soil and Drainage
Once you’ve picked the perfect spot and size for your raised bed, it’s time to prepare the soil. Good soil is essential for healthy plant growth.
For most herbs, start with a mix of topsoil, compost, and peat moss, which provides a fertile growing environment. A 50% topsoil, 30% compost, and 20% peat moss mix works well.
Here’s a simple breakdown of my soil mix:
- 50% Topsoil
- 30% Compost
- 20% Peat moss
Good drainage comes primarily from the soil structure and making sure excess water has somewhere to go. Raised beds naturally offer better drainage than many in-ground gardens, but herbs such as rosemary, thyme, sage, oregano, and lavender are especially unhappy sitting in consistently wet soil.
I also like adding compost each season as the soil settles and the plants use up nutrients.
By following these guidelines, your raised herb garden is off to a great start. With quality soil, good drainage, and plenty of sunshine, you can expect a bountiful harvest of flavorful herbs that will enhance any dish you create.
Need the bed itself first? I have a step-by-step tutorial and free DIY raised garden bed plans for building your own 4×8 cedar bed.
Choosing Herb Varieties for Raised Beds
One of the best things about a raised bed herb garden is that you can grow quite a lot in a relatively small space. But instead of choosing herbs simply because they sound good, think about how you actually plan to use them and whether they have similar growing conditions.
I grow a mix of culinary herbs and herbs I use for teas, homemade remedies, and other projects around the house. If you’re just getting started, choose a handful you’ll genuinely use rather than trying to grow every herb at once.
Easy Herbs to Grow in Raised Beds
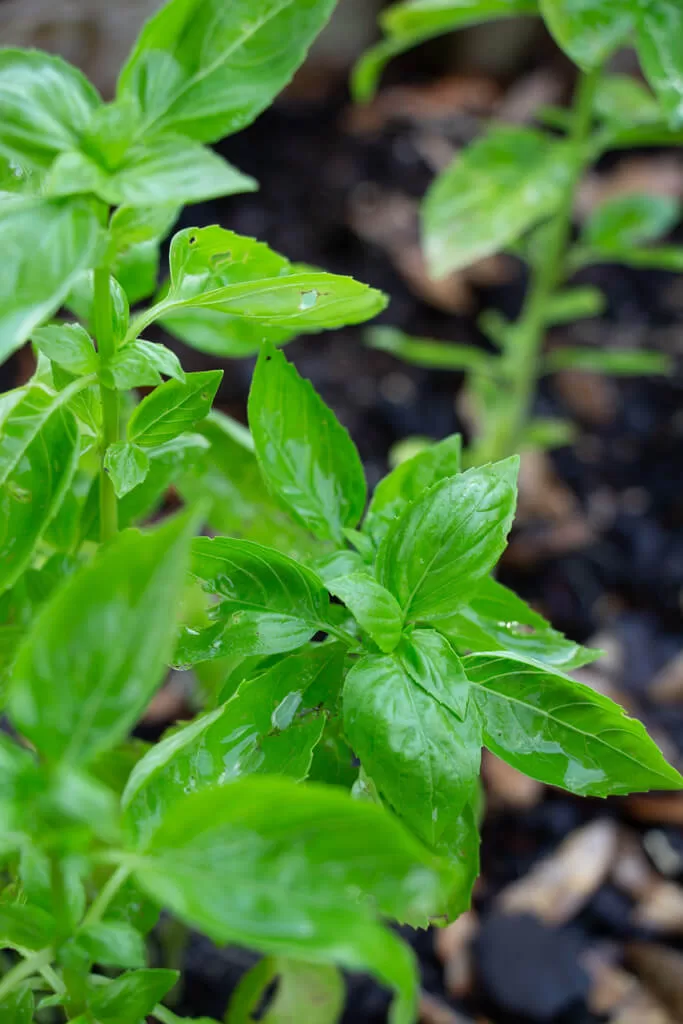
- Basil – One of my favorite warm-season herbs for cooking. I use it fresh throughout the summer and preserve extra for later.
- Chives – A perennial in my garden and one of the herbs I get the most use out of. I use chives fresh and also make chive salt to preserve the harvest.
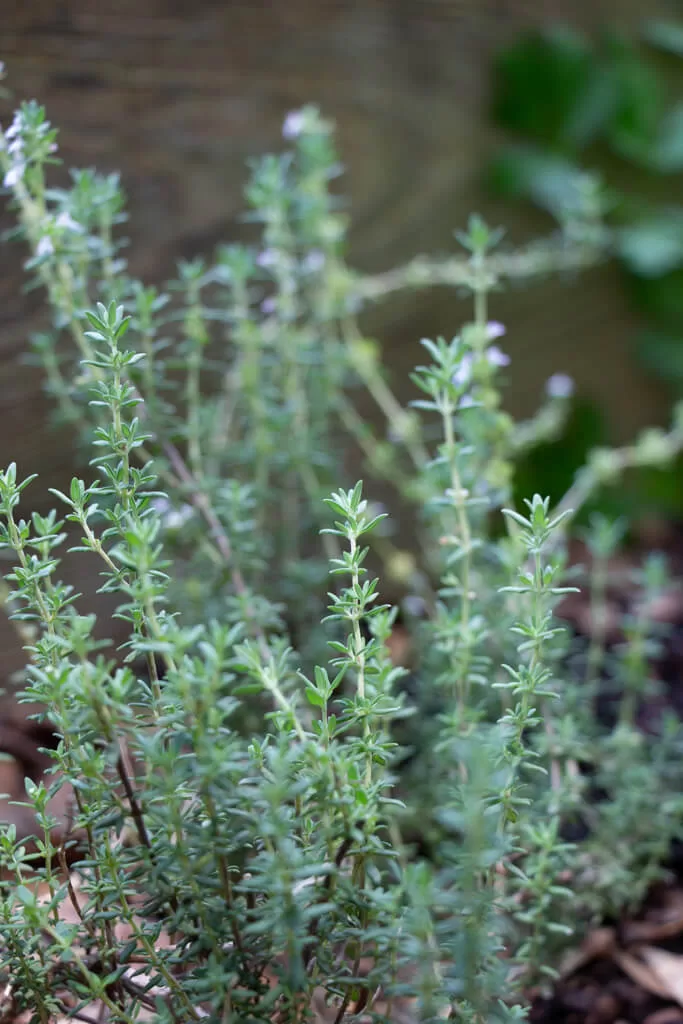
- Thyme – A low-growing perennial that works especially well with other Mediterranean herbs that prefer good drainage.
- Oregano – Another perennial culinary herb that loves sun and well-drained soil.
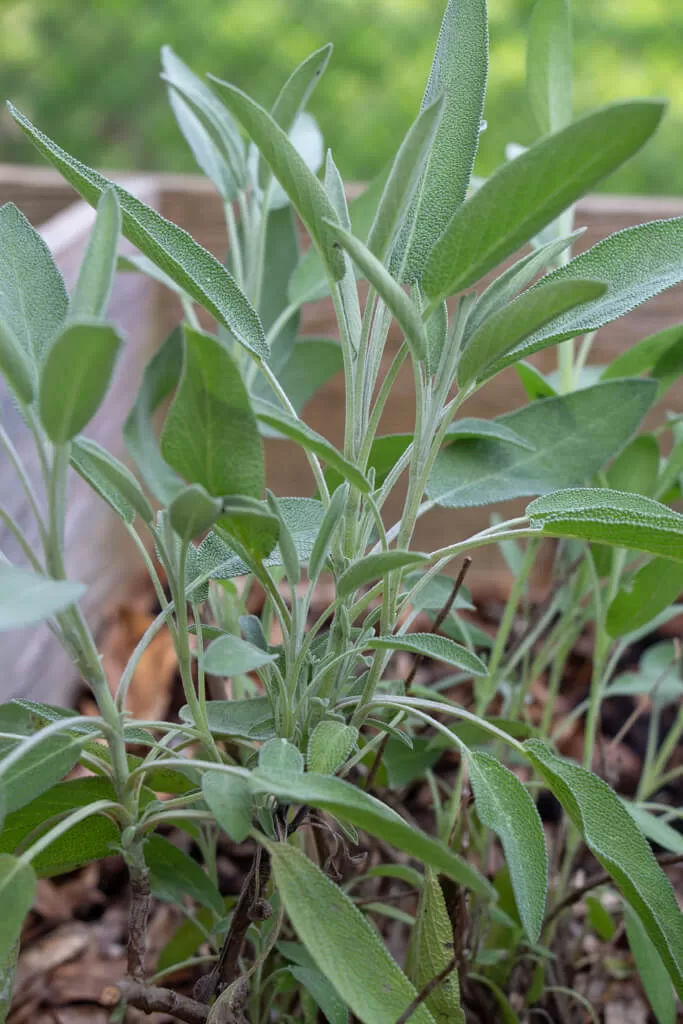
- Sage – A hardy perennial in many climates and useful for cooking, preserving, and herbal projects.
- Parsley – Technically a biennial, although it’s commonly grown as an annual. It prefers a little more consistent moisture than Mediterranean herbs.
- Cilantro – A cool-season annual that tends to bolt once summer temperatures arrive. I wouldn’t count on it lasting all season in the same way basil will.
- Dill – An annual that’s especially useful if you’re growing cucumbers for pickling. Give it some room because it can get surprisingly tall.
- Calendula – Technically a flower rather than a culinary herb, but it earns a spot in my herb garden every year. I grow it for its beautiful flowers and harvest the blooms for herbal preparations.
- Chamomile – Another flowering herb I love growing for tea. The small flowers are also a beautiful addition to an herb bed.
What About Rosemary and Lavender?
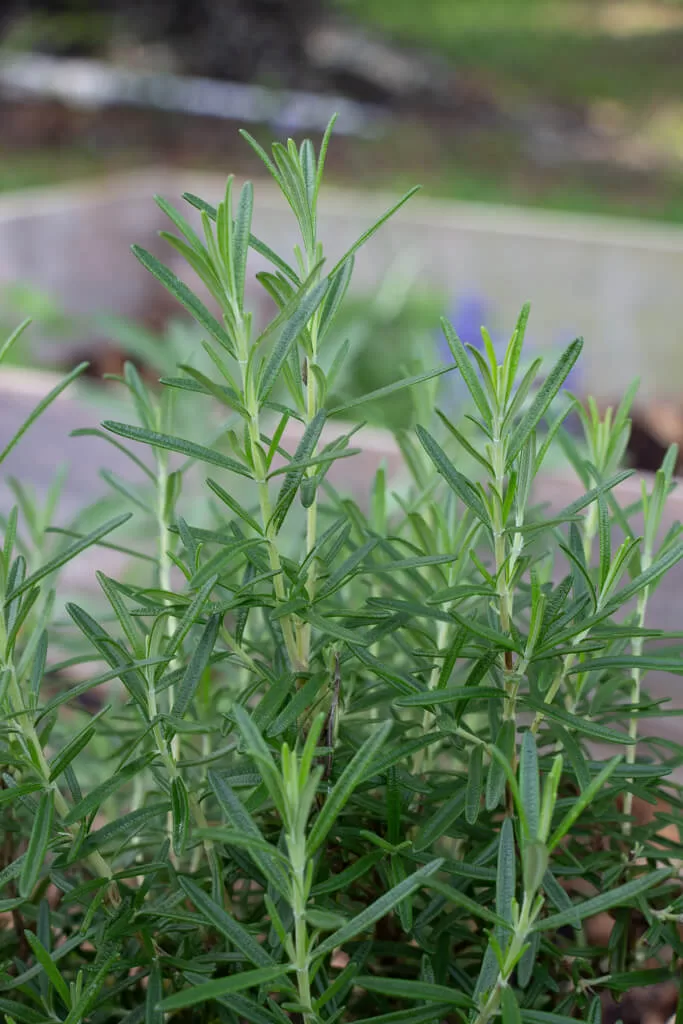
Rosemary and lavender love the excellent drainage a raised bed can provide, but whether they behave as perennials depends on your climate and variety.
Here in Northeast Ohio, I don’t count on rosemary surviving outdoors through winter, so I treat it differently than hardy perennial herbs such as chives, thyme, oregano, and sage. This is a good reminder that the word perennial doesn’t mean perennial everywhere—always check the hardiness of the specific plant against your growing zone.
Group Herbs by Growing Conditions
Rather than worrying about creating the “perfect” companion planting arrangement, I find it more useful to group herbs according to what they actually need.
Drier, well-drained conditions: rosemary, thyme, oregano, sage and lavender.
More consistent moisture: basil, parsley, cilantro and chives.
This makes watering much easier and prevents you from trying to keep a moisture-loving herb happy right beside something that prefers to dry out between waterings.
Companion Planting Herbs in Raised Beds
You’ll find plenty of companion planting charts online telling you exactly which herbs should and shouldn’t grow together. In my garden, I prefer to keep it simpler.
The most important thing is grouping plants with compatible needs. Rosemary, thyme, oregano, sage, and lavender all appreciate plenty of sun and well-drained soil, so they can make a practical grouping. Basil and parsley generally appreciate more consistent moisture.
There is one herb I do intentionally separate: mint. Mint spreads aggressively, and once it’s happy, it can quickly take over valuable raised-bed space. I prefer growing mint in its own container or dedicated small bed.
I also consider mature plant size. Tall herbs can shade smaller plants, sprawling plants can crowd their neighbors, and good airflow becomes important as your garden fills in.
If you want to experiment more intentionally with plant combinations, I have a complete guide to companion planting in a small garden.

Add Flowers to Your Raised Bed Herb Garden
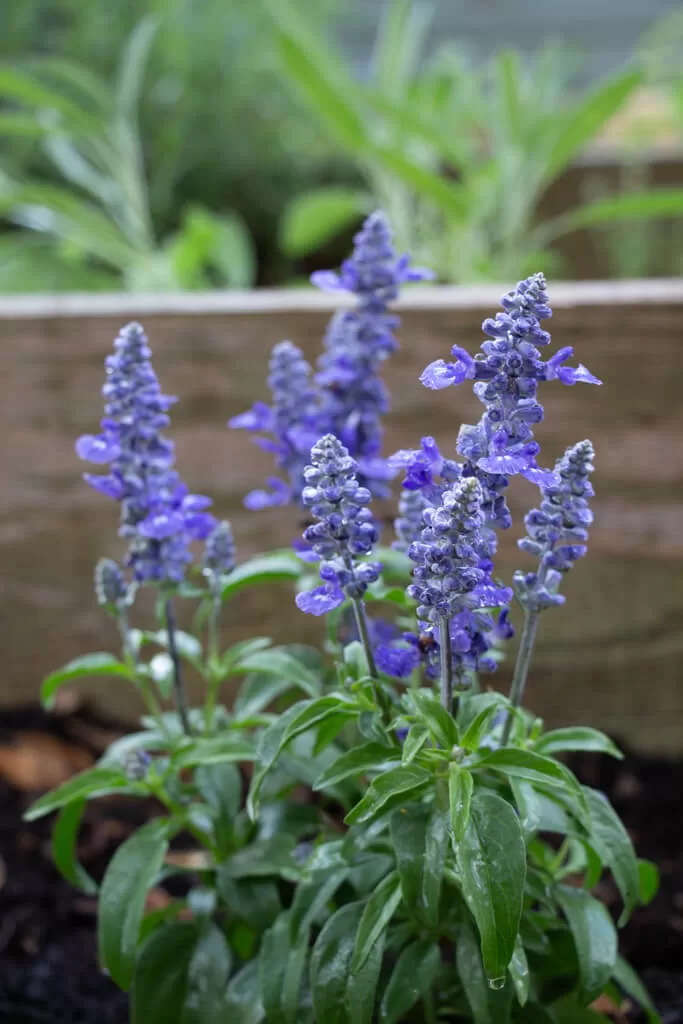
Herbs and flowers don’t have to live in separate gardens. I love mixing flowers into my herb beds to add color, attract pollinators, and make the most of a small growing space.
Some of my favorites include:
- Calendula: One of my most-used garden flowers because I can harvest the blooms for herbal preparations while still enjoying them in the garden.
- Chamomile: Its tiny daisy-like flowers are beautiful mixed among herbs, and I harvest the flowers for tea.
- Nasturtiums: An edible flower with colorful blooms that can spill beautifully over the edge of a raised bed.
- Borage: Produces striking blue flowers that are popular with pollinators.
- Bee balm: A larger flowering herb that attracts pollinators and adds a lot of color, although you’ll want to give it enough room to grow.
- Lavender: Beautiful, fragrant and useful—but give it the sunny, well-drained conditions it prefers (sometimes I struggle to keep lavender alive in my moist environment!).
You don’t need all of these. Even adding one or two flowering plants can make a simple herb bed feel much more abundant.
Raised Bed Layouts for Herbs
You don’t need a complicated planting plan for a raised bed herb garden. I mainly think about height, mature plant size, sunlight, and how easily I can reach each herb to harvest it.
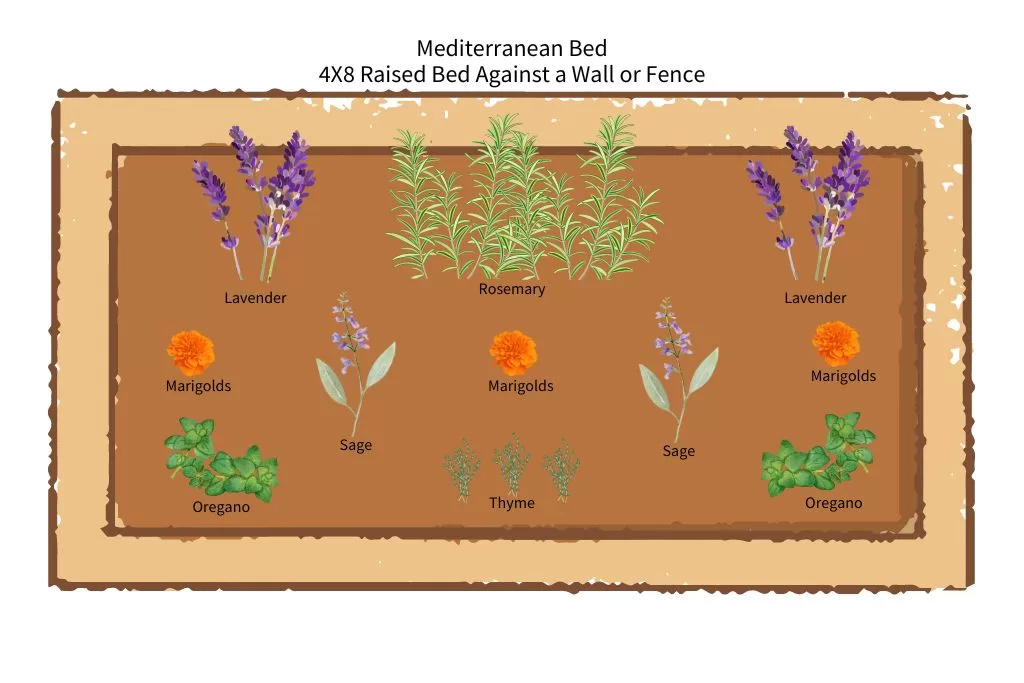
Raised Bed Against a Wall or Fence
If you can only access your raised bed from one side, put taller herbs toward the back so they don’t shade or block your smaller plants. Medium-sized herbs can fill the center, with lower-growing herbs and flowers toward the front where they’re easy to reach.
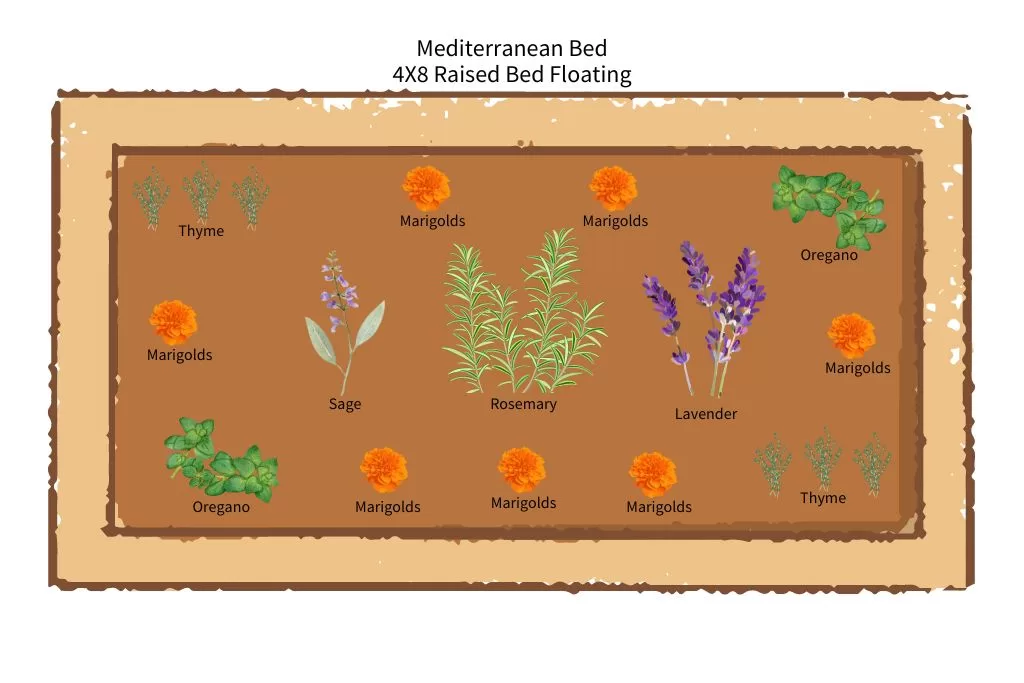
Raised Bed You Can Access From All Sides
If you can walk around the entire bed, taller plants can go toward the center with shorter herbs around the edges. I especially like putting frequently harvested herbs such as chives, parsley, and thyme somewhere they’re easy to reach.
Don’t feel like you need to fill every inch when you first plant. Pay attention to the mature size listed on the plant tag or seed packet and leave enough room for airflow as everything grows.
And remember: mint gets its own space! I keep mine contained rather than letting it loose in a mixed herb bed.

Grab your Free Routine
The 15 Minute Homestead Routine (for busy days).
Want a simple morning rhythm that keeps your home running, your garden growing, and your goals on track? Grab my free 15-Minute Morning Routine Worksheets—designed to help you build homestead habits that stick.
When to Plant Herbs in a Raised Bed
The best planting time depends on the herb and your local climate. I garden in Northeast Ohio, so I plan around our frost dates rather than using one planting date for every herb.
Hardy perennial herbs and cool-season herbs can generally handle cooler conditions than tender herbs such as basil. Basil is one I don’t rush—I wait until the danger of frost has passed and temperatures have warmed.
If you’re growing from seed, check the seed packet for whether that particular herb is best started indoors or directly sown in the garden. If you’re buying transplants, the plant tag is also a useful starting point.
If you’re unsure about your timing, find your USDA Plant Hardiness Zone and your area’s average frost dates before planting.
Watering and Feeding Your Herbs
Newly planted herbs need consistent water while their roots become established, but once they’re growing well, their water needs can vary quite a bit.
Basil, parsley, cilantro, chives, and lemon balm generally appreciate more consistent moisture. Mediterranean herbs such as rosemary, thyme, oregano, sage, and lavender prefer well-drained soil and don’t like sitting wet.
Instead of watering on a rigid schedule, I check the soil first. Raised beds can dry out faster than in-ground gardens, especially during hot summer weather, so pay attention to what your plants and soil are telling you.
I add compost to my raised beds to replenish organic matter and nutrients as the soil settles. Herbs generally don’t need excessive fertilizer to be productive, which is one more reason I find them fairly low-maintenance.

Pruning and Harvesting Herbs
One of the easiest ways to keep many herbs productive is simply to use them regularly. I harvest herbs throughout the growing season for cooking, teas, and homemade herbal projects, and I preserve whatever I can’t use fresh.
For leafy herbs such as basil, regular harvesting can encourage bushier growth and help delay flowering. When I’m taking a larger harvest, I avoid removing too much of the plant at once so it has plenty of foliage left to continue growing.
And don’t wait until the end of the season to figure out what you’ll do with everything! I dry many herbs, but freezing, herb salts, infused oils, and other preservation methods can all help you actually use what you’ve grown.
What About Pests?
Herbs are relatively easygoing in my garden, but they’re certainly not pest-proof. My approach has changed over the years: instead of trying to prevent every bug from entering the garden, I first identify what’s actually causing the damage and decide whether it’s doing enough harm to require intervention.
I regularly check the undersides of leaves, remove pests by hand when that’s practical, prune badly damaged plant material, and pay attention to overall plant health. Healthy plants growing in the right conditions are much better equipped to handle a little pest pressure.
I also want beneficial insects in my garden, so I don’t automatically treat every insect as a problem. Flowers mixed throughout the garden help create a more diverse growing space and give pollinators and other insects a reason to stick around.
If pest damage becomes significant, I choose a treatment based on the specific pest I’m dealing with rather than spraying the entire garden just in case.
A few chewed leaves don’t mean your garden is failing. Learning what’s normal, what’s actually damaging your plants, and when you need to intervene is part of becoming a more confident gardener.
You Might Also Be Interested in:
Ready to start your raised bed herb garden?
You don’t need a huge raised bed—or a huge list of herbs—to get started. Choose a few herbs you already use, give them the growing conditions they need, and learn as you go.
Herbs have become some of my favorite things to grow because they earn their space over and over again. I can walk outside for something to add to dinner, harvest flowers for tea, preserve herbs for winter, or turn what I’ve grown into something useful for my home.
If you’re starting your first raised bed herb garden, keep it simple. Good soil, enough sun, appropriate watering, and a handful of herbs you’ll actually use will take you a long way.
And once your herbs start producing more than you can use fresh, I’ll show you seven simple ways to preserve fresh herbs so none of that harvest goes to waste.
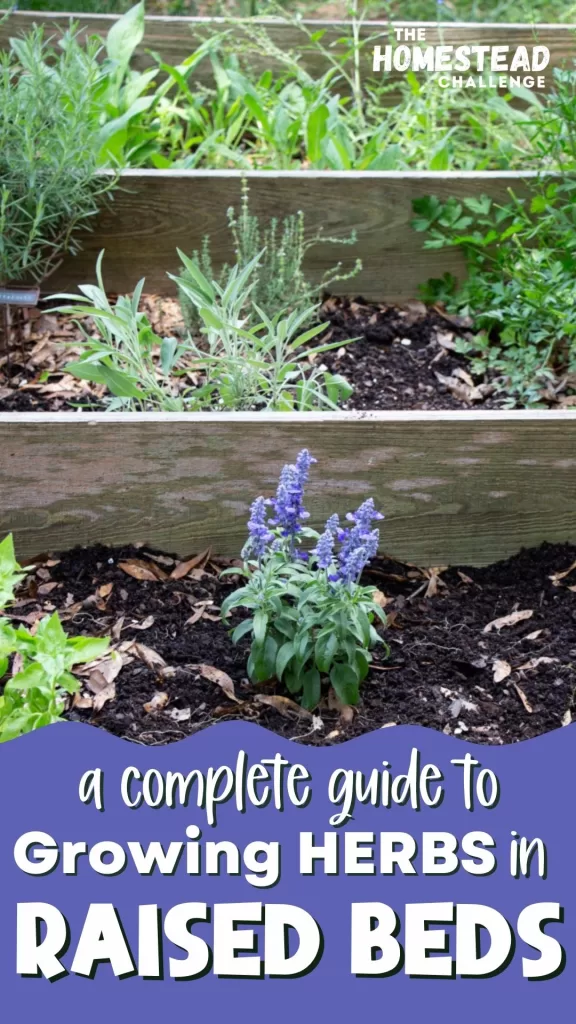
Pin Growing Herbs in Raised Beds for Later!
About the Author
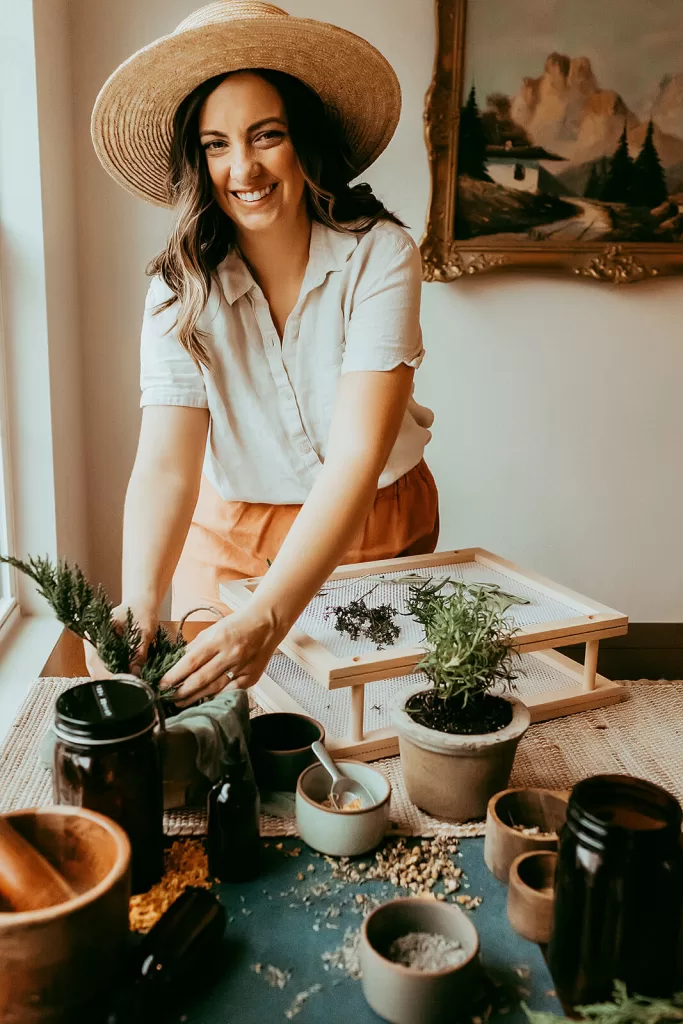
Brittany Gibson is a modern suburban homesteader and the founder of The Homestead Challenge. She empowers women to adopt a simpler, more self-sufficient lifestyle, feeling confident to grow, create, and thrive on their own terms with joy and balance.
Read more about my transformation and join me in building our lives from scratch.
